So, time to catch up on some scribbling about my latest crafty undertakings. Let’s start with the first one I’ve completed already a month ago. I’m part of a roller derby team, Boomtown Rollers Dublin (check us out here) and we have a bunch of eager rookies who are getting into all the jamming and blocking stuff, but we didn’t have helmet covers (also know as panties).
If you don’t know what roller derby is, well, go and educate yourself now 🙂 Just kidding, a quick Google search should yield enough information to catch your interest and join the closest team to you. In the meanwhile, I shall provide you some pointers: roller derby is a contact sport played on quad roller skates, in which two teams of five players – four blockers and one jammer- battle each other around the track to get points. There’s a lot of strategy involved too, however, for the untrained eye, it looks like a bunch of people beating the crap out of each other.
But I love roller derby and the whole roller derby community, which is mostly DIY! As this in not a post about roller derby, let’s focus on the real subject here: roller derby helmet covers!
Since this is a contact sport, we wear a lot of protections, including helmets, and there are two “special” players who need to be recognized among the jungle of bodies: the pivot and the jammer. The pivot is one of the blocker, and the jammer is the speedy badass who score points by passing through the wall legally and looping around several times until the jam is over. So, my new craft project was to sew two sets of covers. This post is not a tutorial, but rather a few… ehm… challenges I encountered hoping it’ll avoid someone else some mess.
- Too much fabric: depending on how wide the fabric is, half a meter should be enough to sew two sets. Now I find myself with a bunch of stretchy gold and silver fabric…
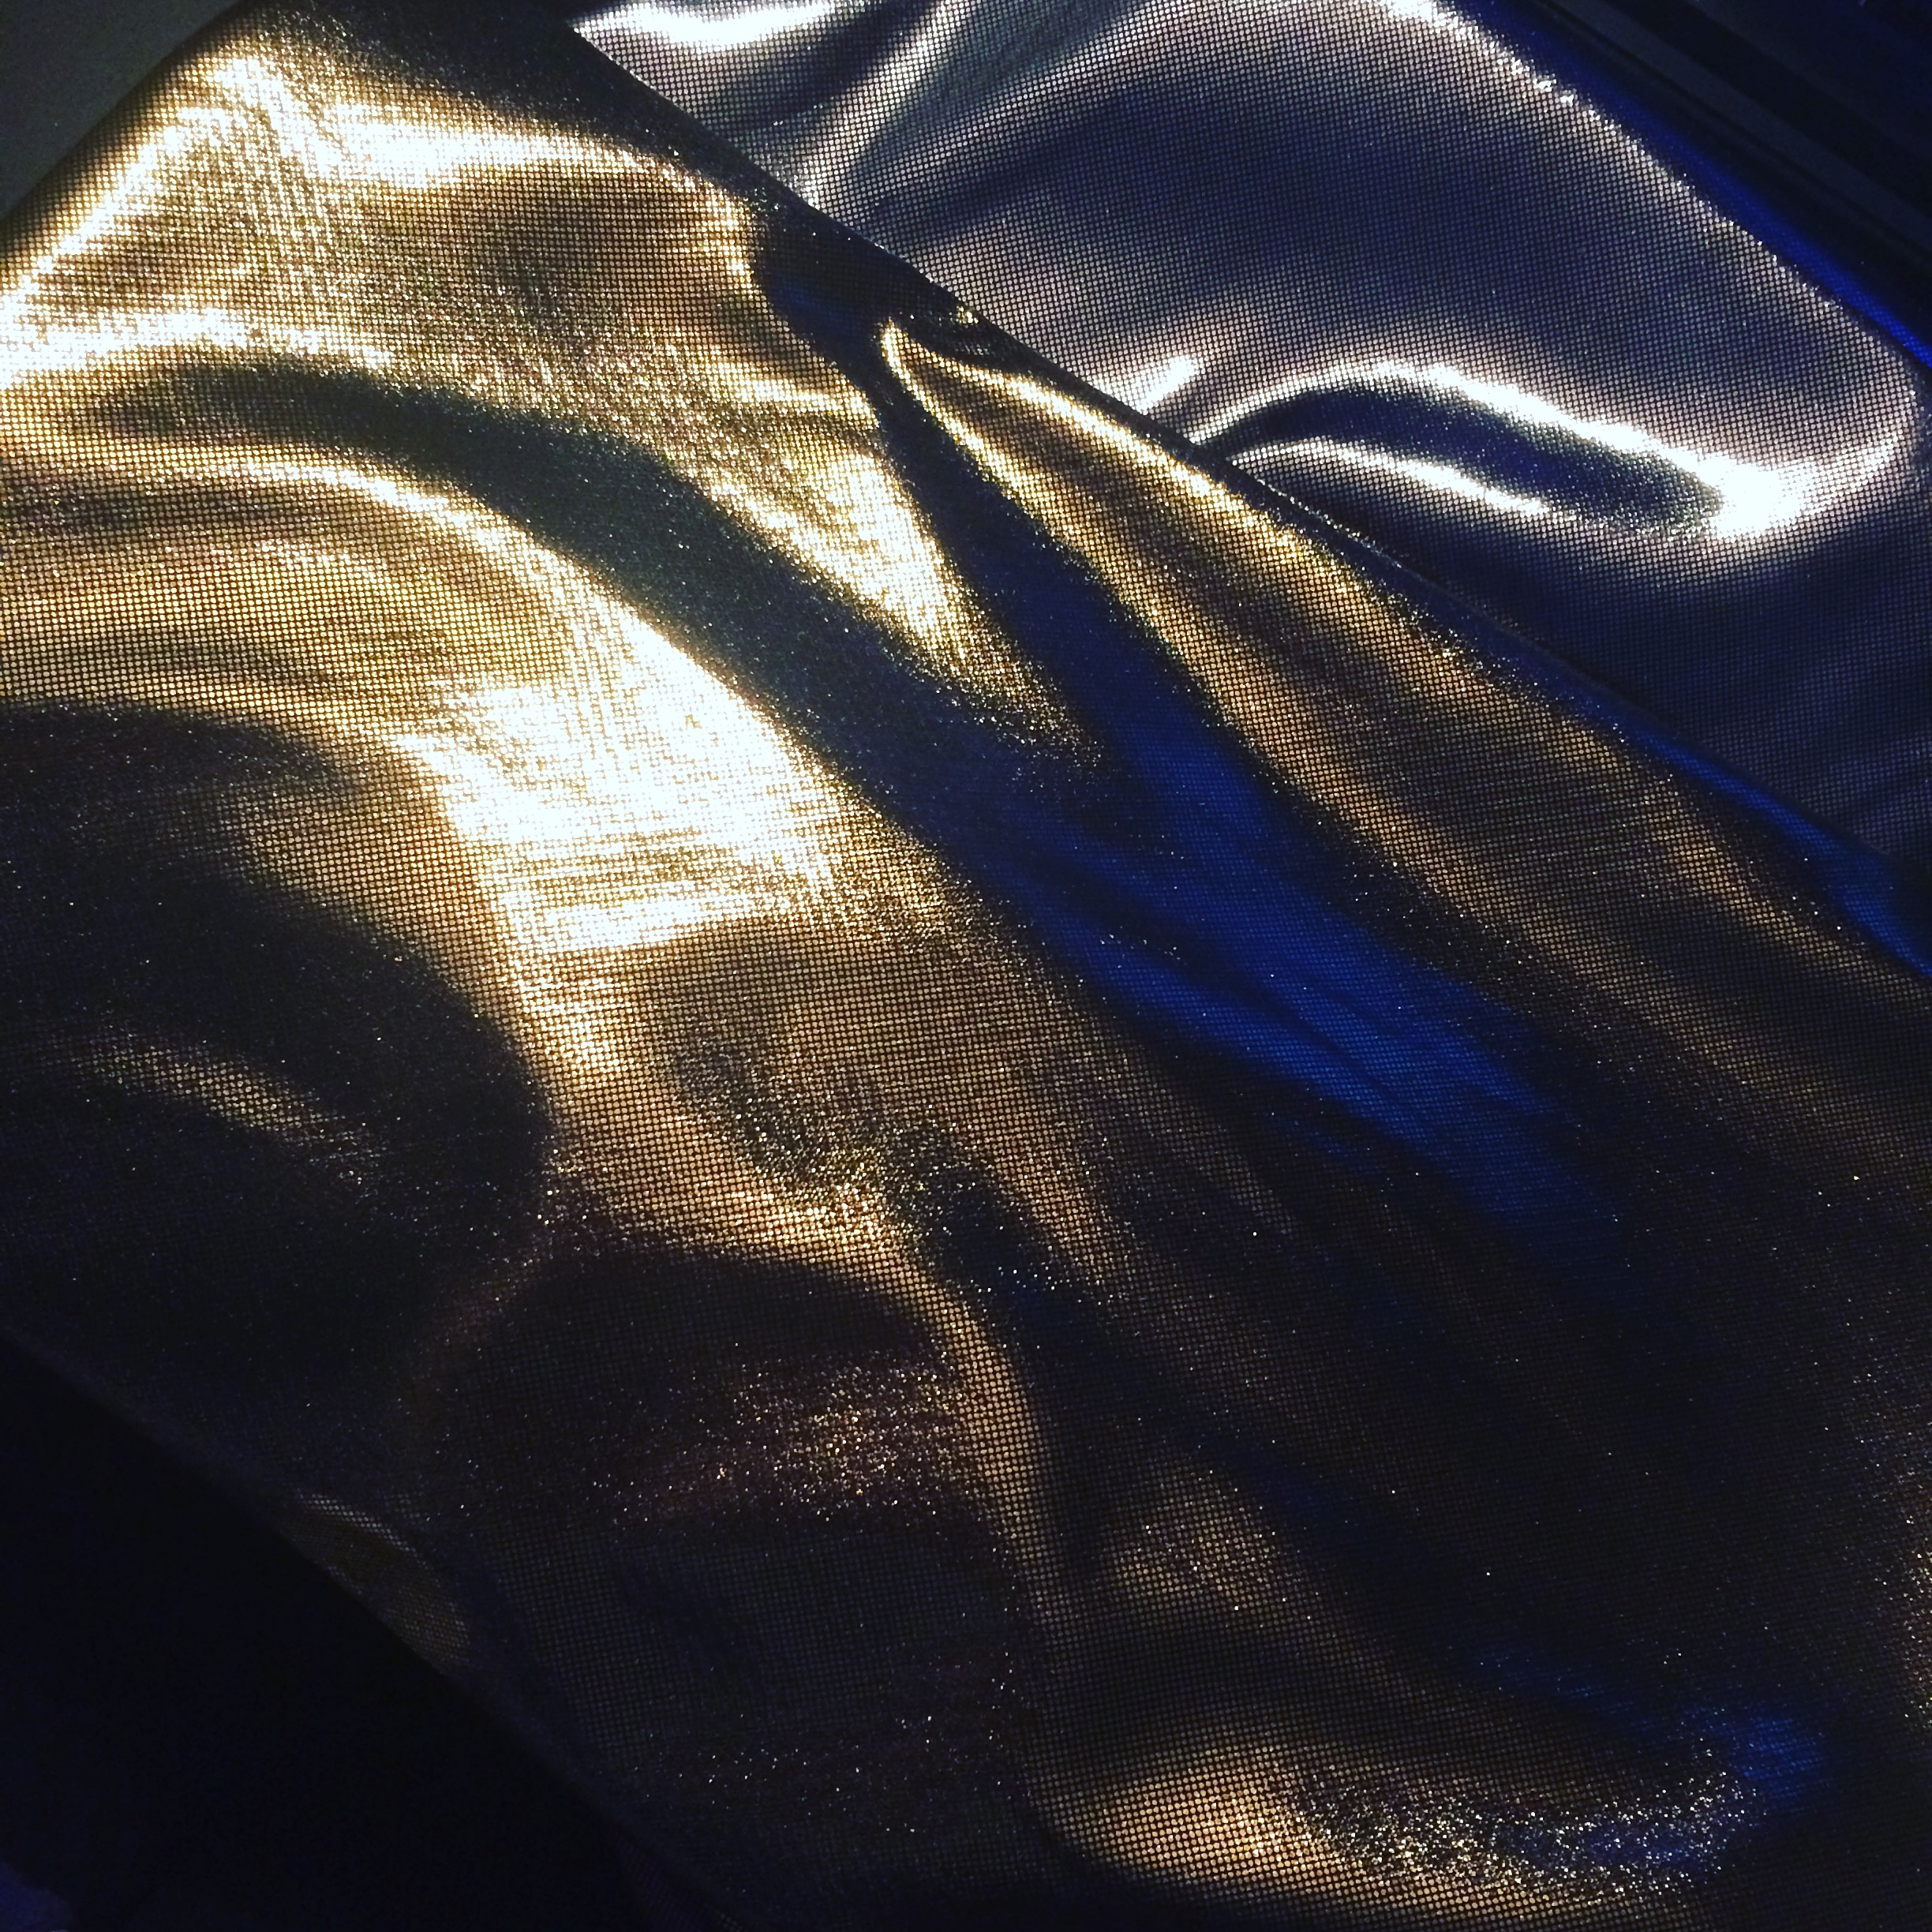
- Stretchy fabric is hard to sew if you don’t know how. It was the first time I ever sew something so stretchy, so before starting I read a bit around and the trick is to use a zigzag stitch. It took several attempts and a failed cover, but finally I got a good enough result. However, the stars were another level of challenging and sewed them by hand after a few dangerous trials.
Twinkle Twinkle… … Little Star - The pattern. Burda website provides a free one, which is used in all the tutorial I found, but I don’t have a printer, so I decided to draw my own by measuring my own helmet. That was a galore of mistake!
- Too big. As there are different sizes and shapes of helmet, I wanted to be sure it could be easy to put on for everyone, so I added 1 cm to my measurements. Only one problem: I was using a ruler in inches… *facepalm*. The picture below shows the unrounded pattern and the super complicated calculations to fit the pattern.
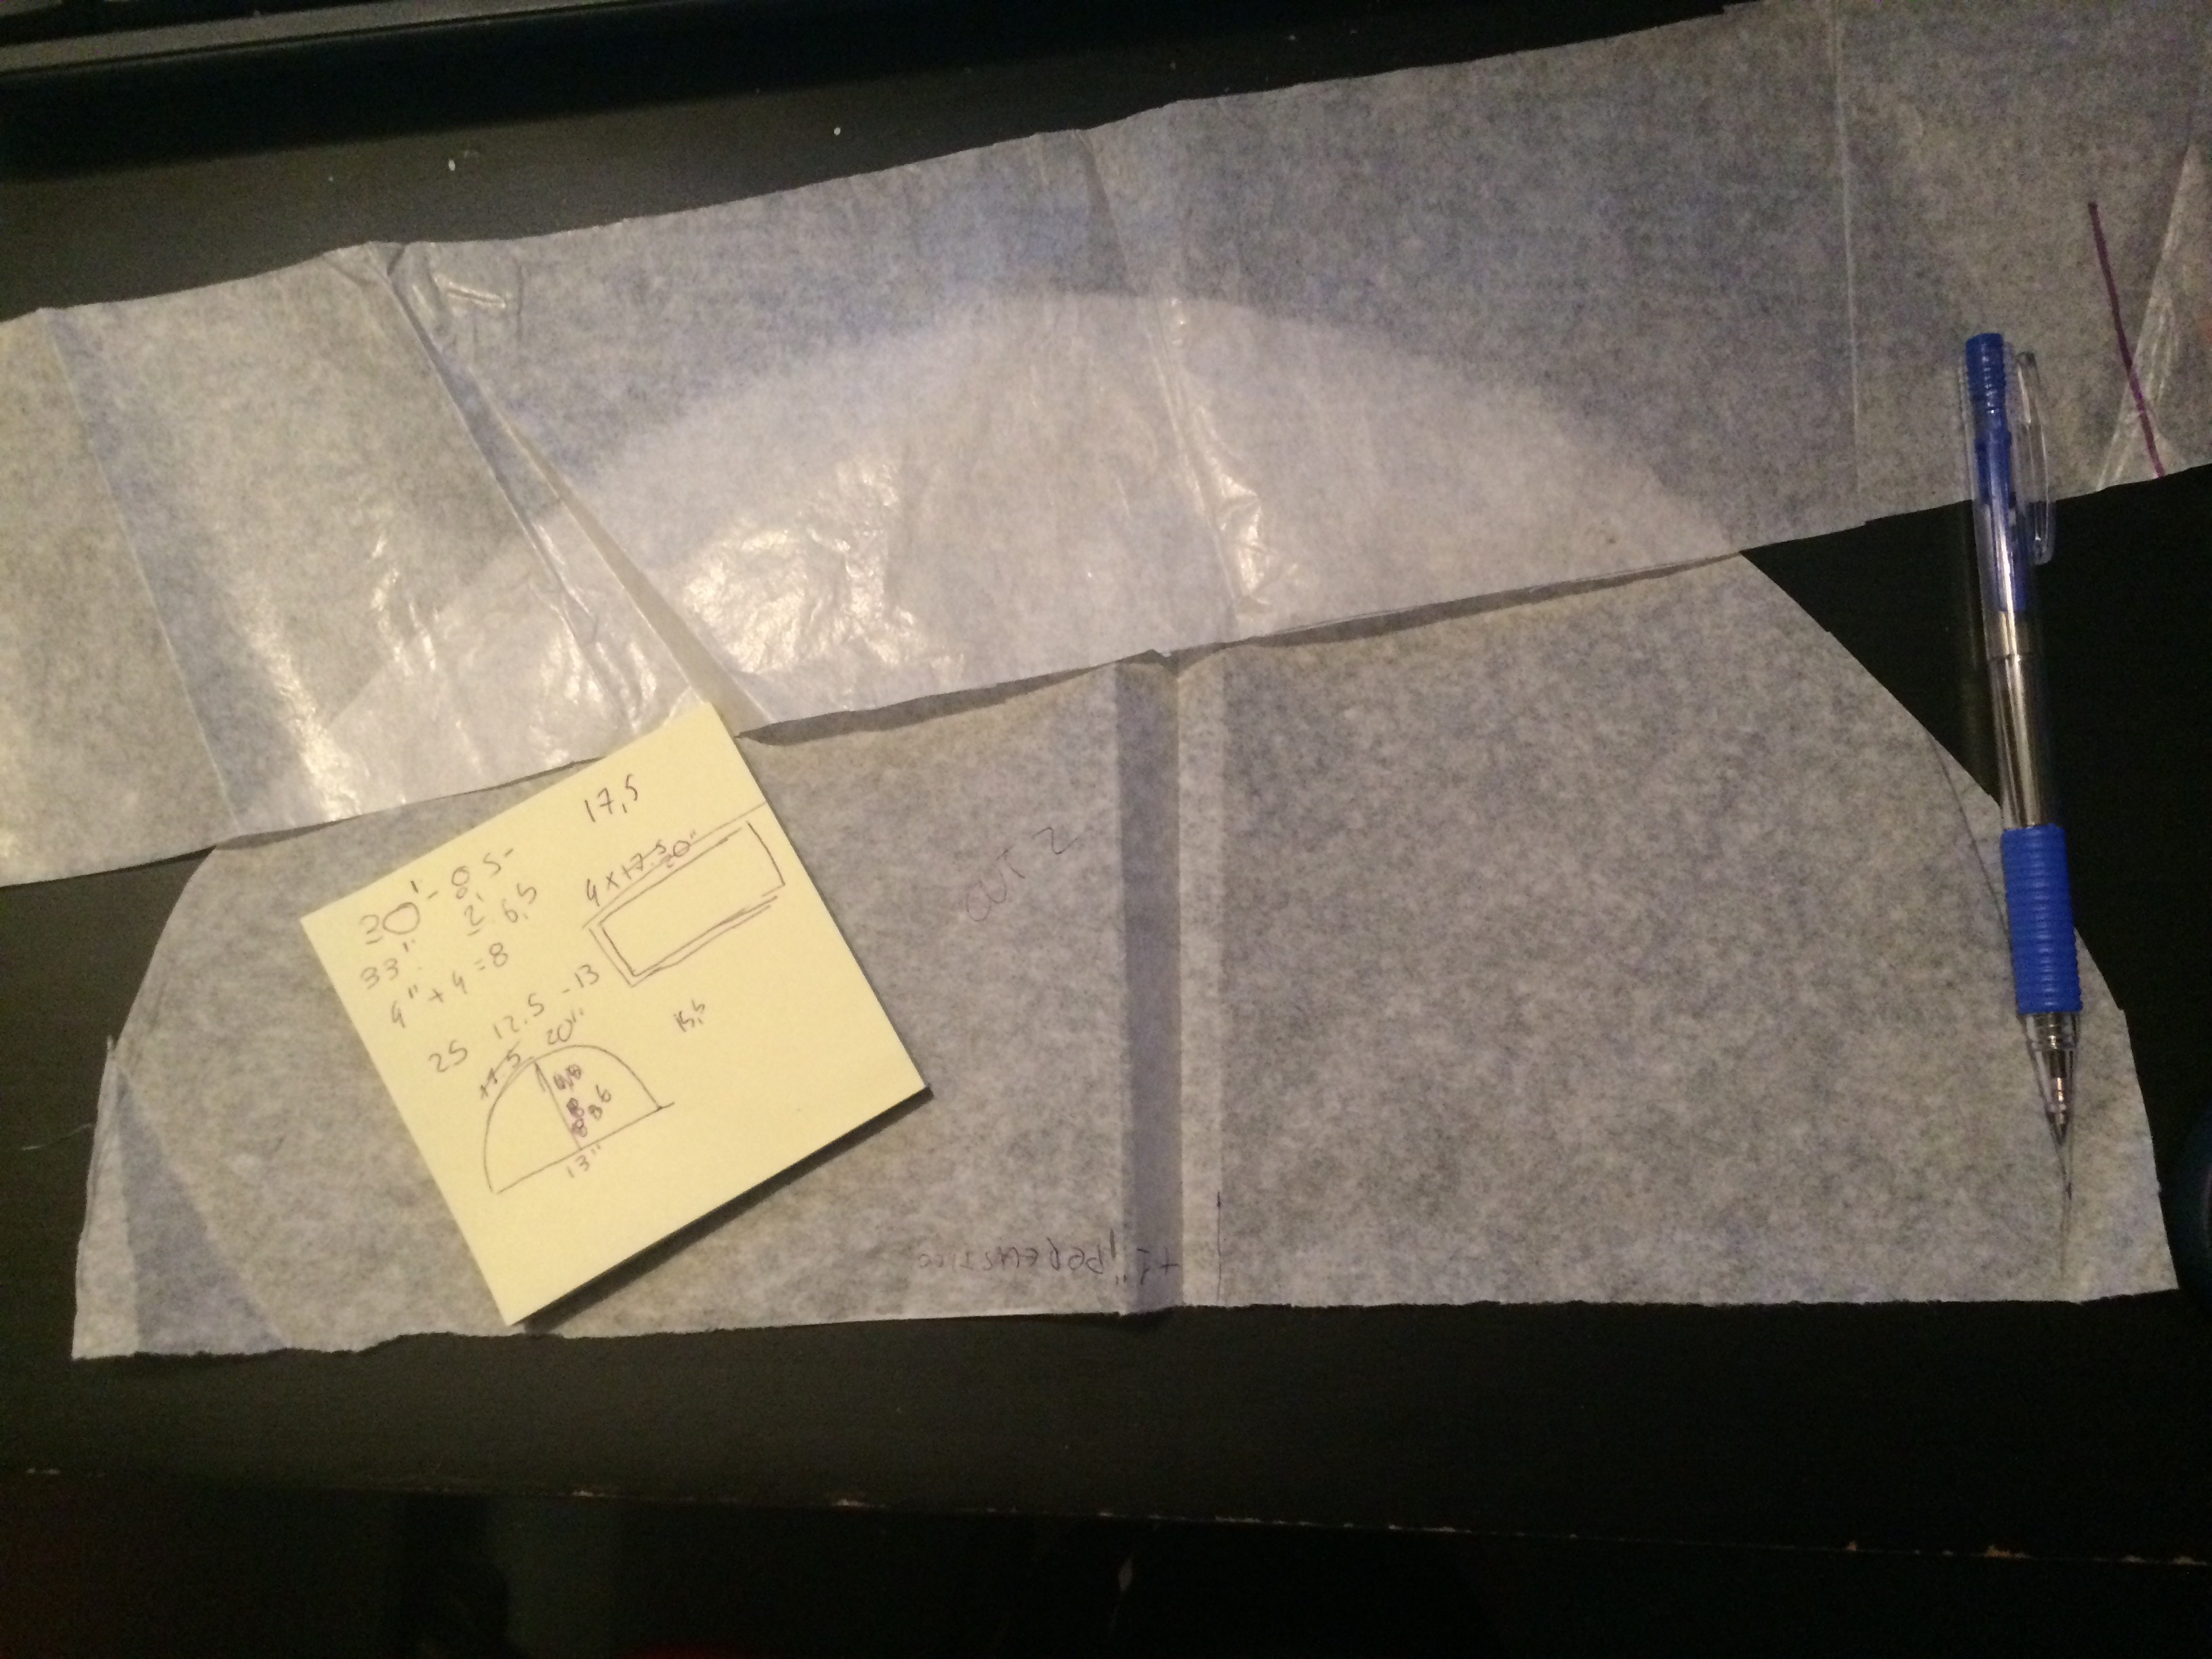
- Rounded corners. My first pattern had also a flat bottom, while the one online had clearly a different shape.
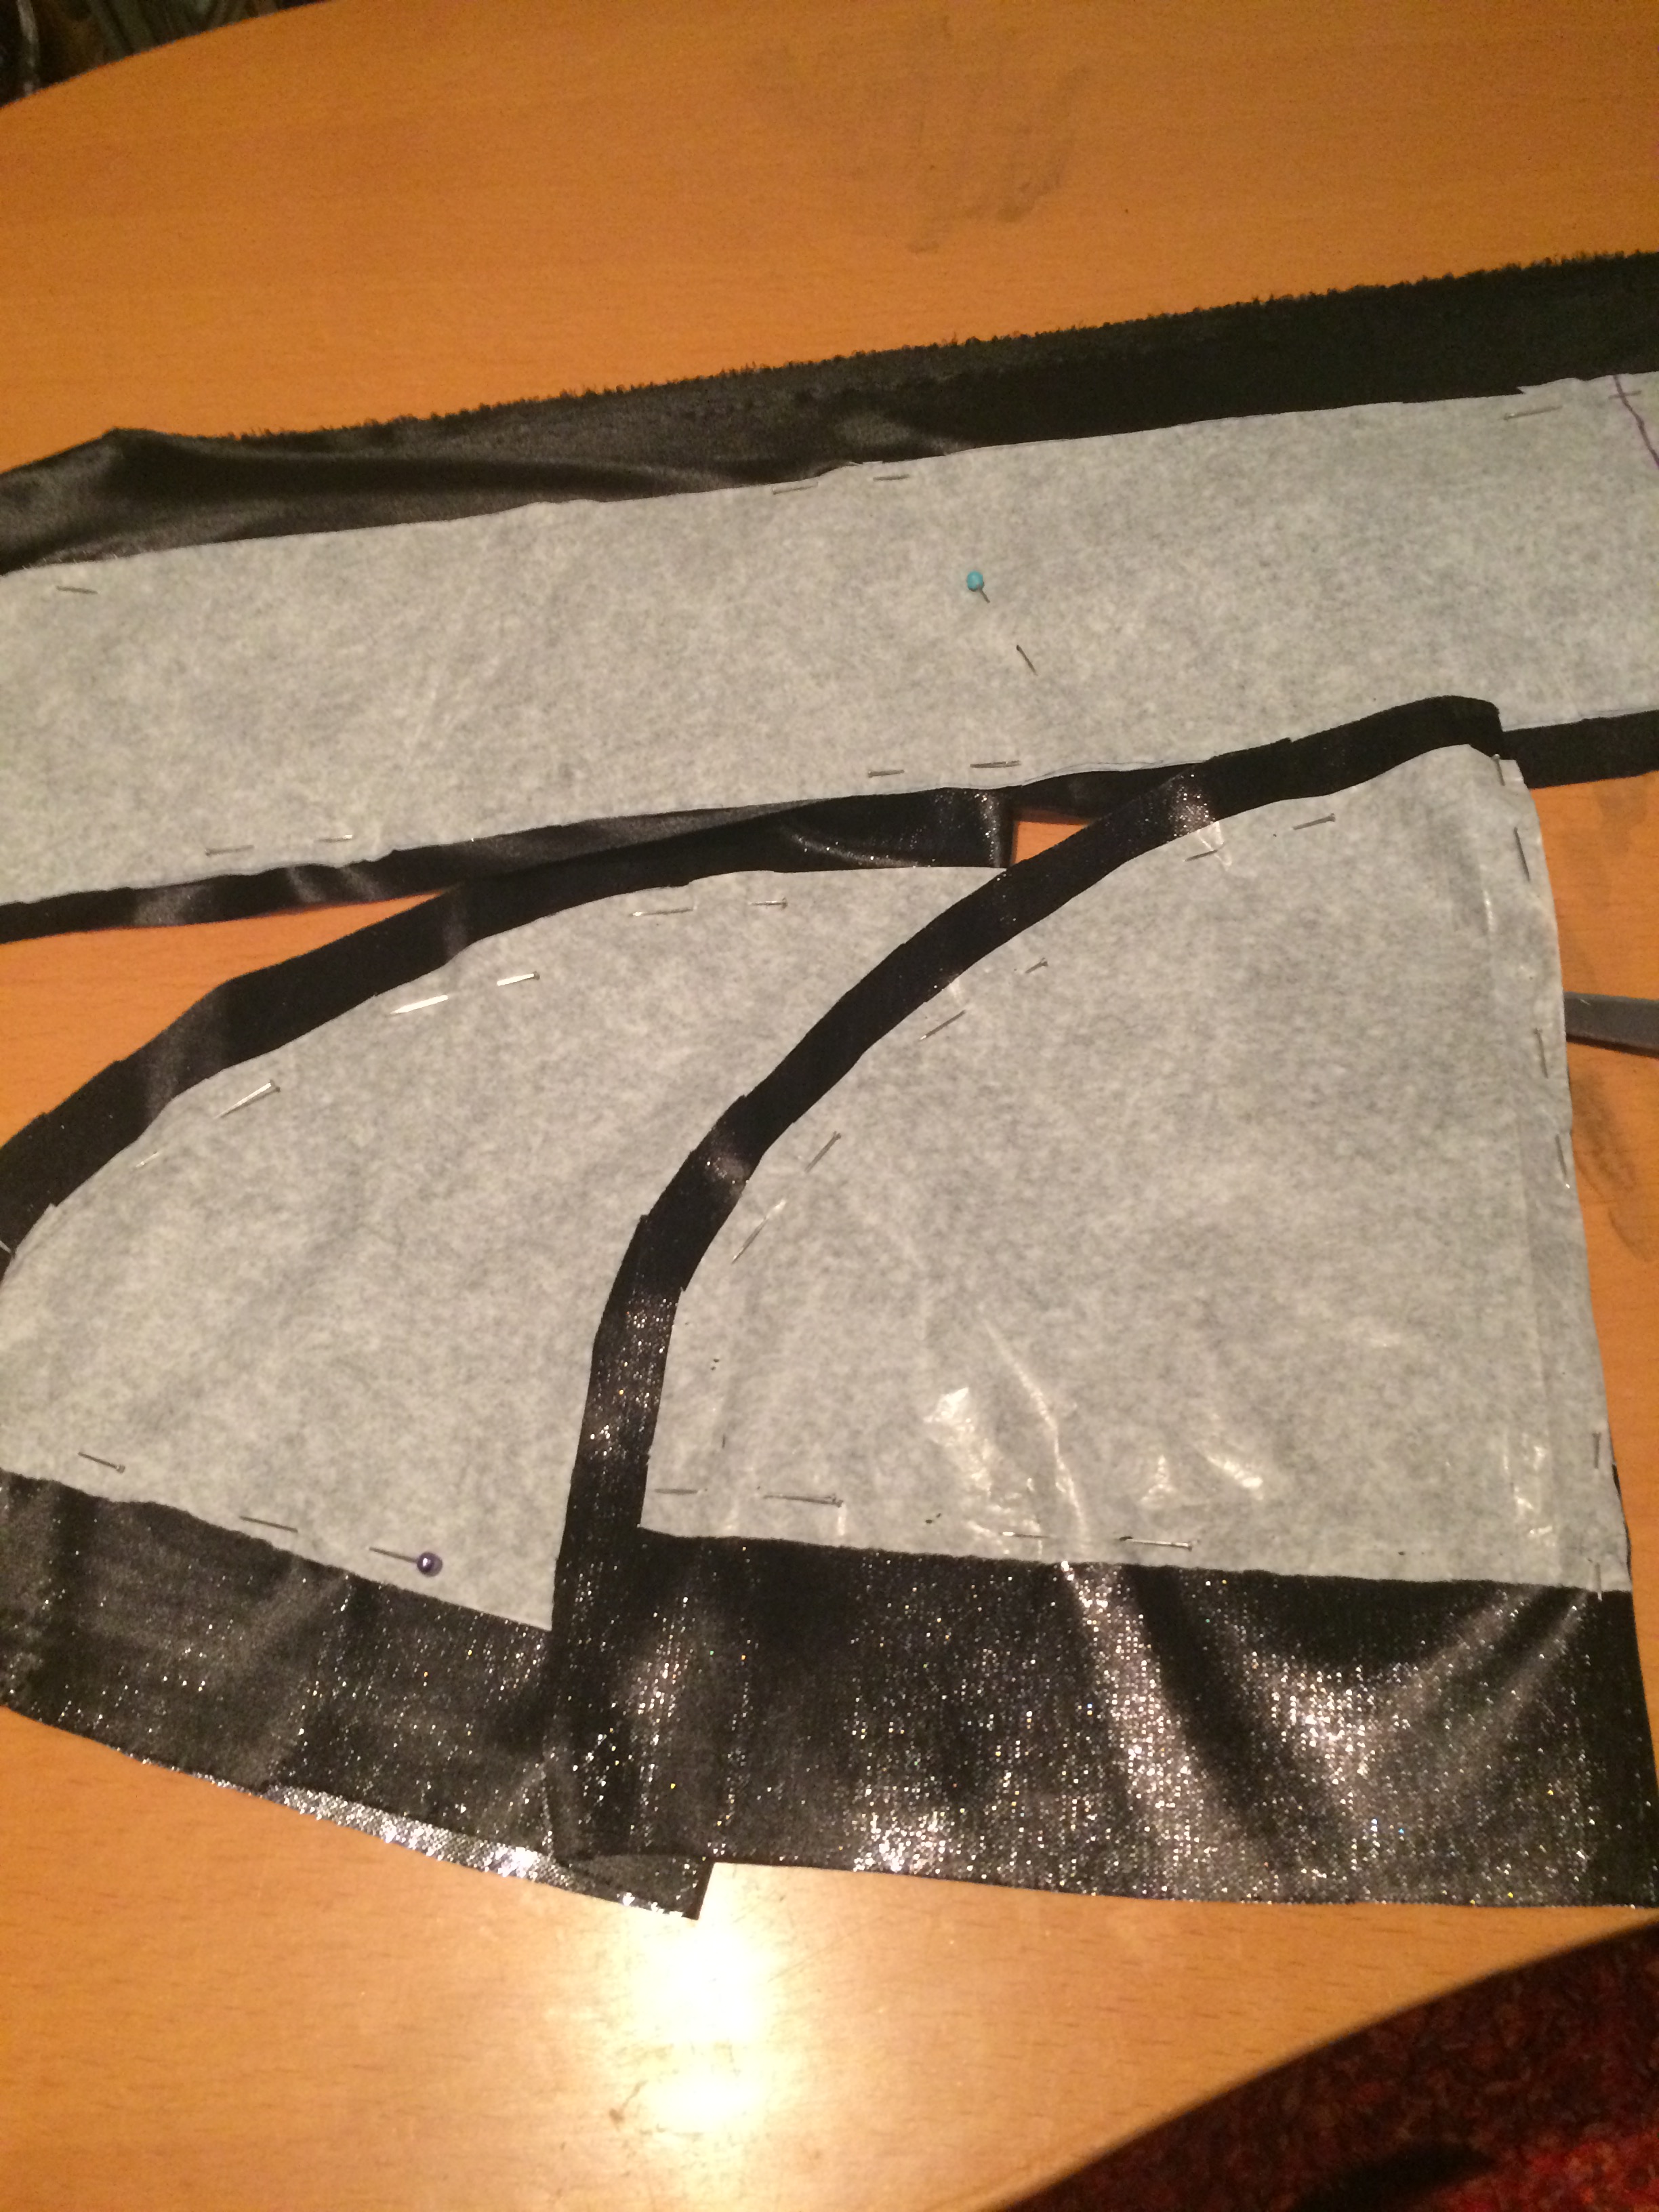
- Too big. As there are different sizes and shapes of helmet, I wanted to be sure it could be easy to put on for everyone, so I added 1 cm to my measurements. Only one problem: I was using a ruler in inches… *facepalm*. The picture below shows the unrounded pattern and the super complicated calculations to fit the pattern.
So, the first cover was too big but also too short on the sides… Yes, apparently that’s possible. But after spending some time on cutting, fixing, sewing, fitting, finally the two sets of sparkly cover were ready!
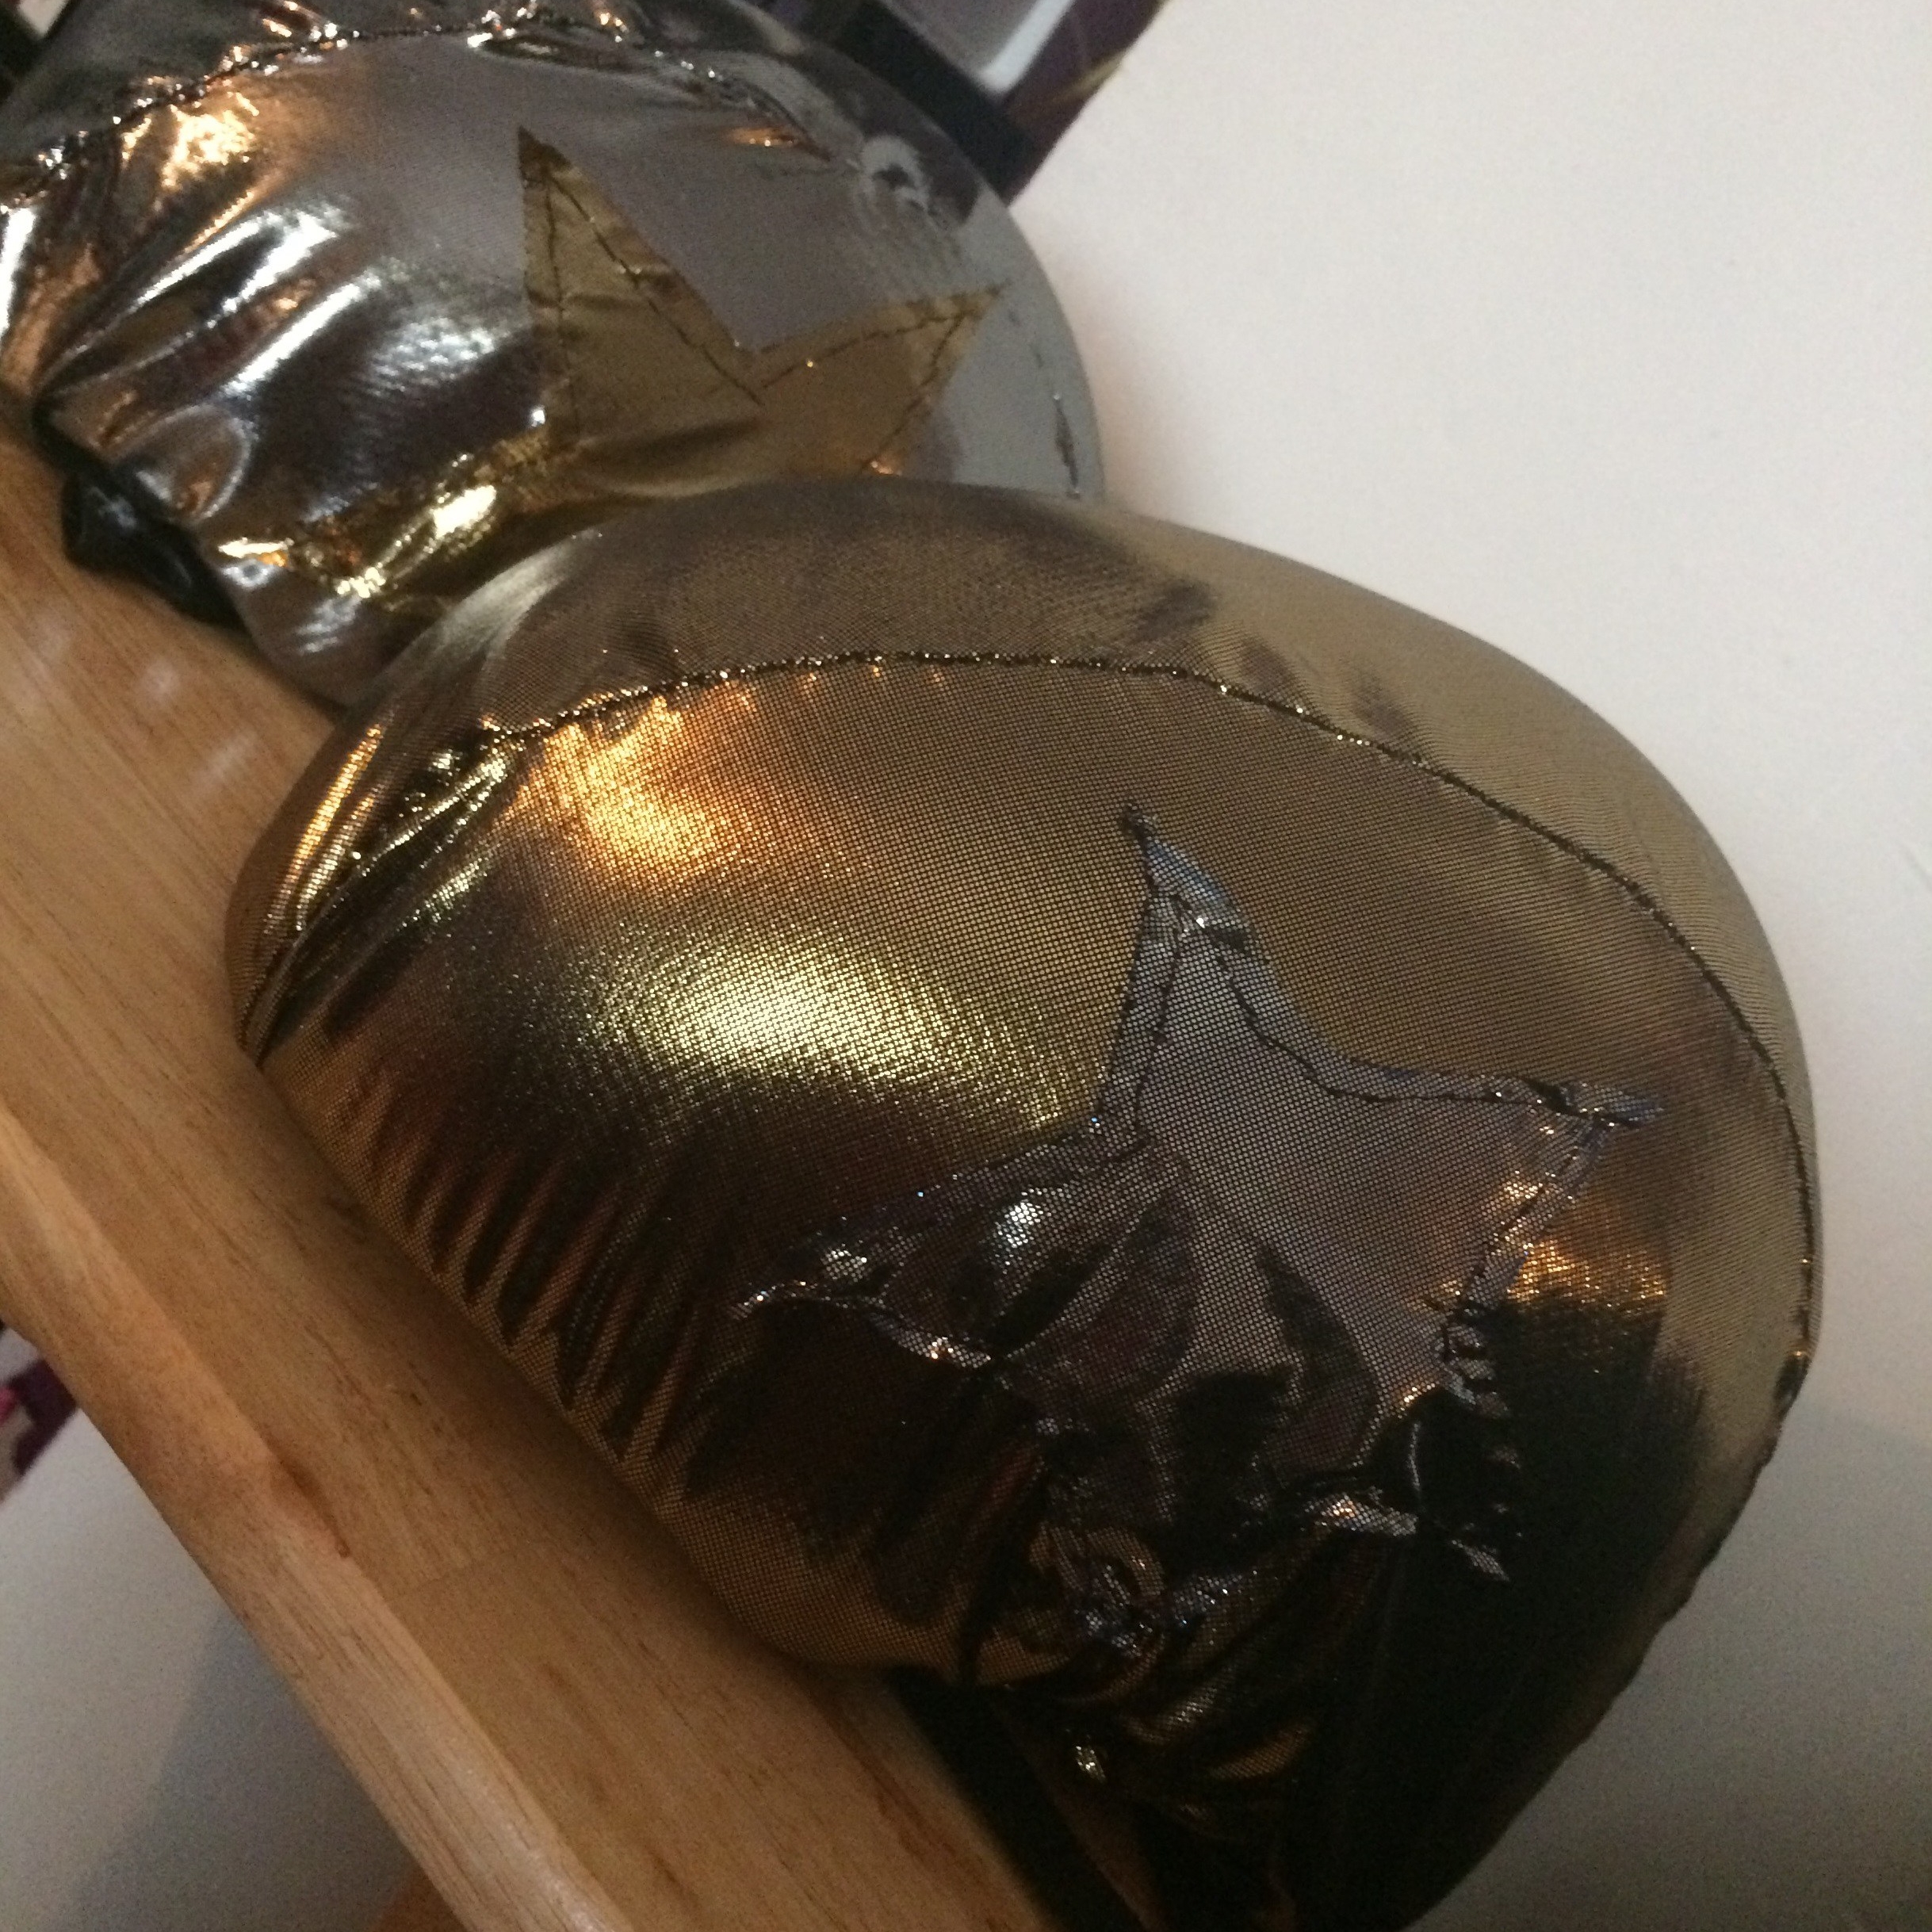
A special thanks to my helmets for being such charming models!
For tutorials and instructions on how to sew them, check the links below:
DIY Roller Derby
Women on a Mission: Mom Edition
Free Pattern from Burda
