Note: I wrote this post, and others about HP related crafts before I realized the author’s ideas and beliefs greatly (to put it mildly) disagree with mine. I still decided to leave this post up because it can easily be use to make a anything-else-themed journal cover.
So, here we go with my first post!
I’ve recently become a bullet journal addicted…
What is bullet journal you say? It’s basically a way to get organized with a pen and a notebook, or so I thought… It turned out it was a source of continuous amazement! I have always been creative, but with a tendency of hopping from a project to another without finishing any (see my collection of poor single knitted socks). However, since I’ve started bullet journalling back in November, the dam of my creativity just opened loose. Mind you, my journal is mildly creative, I doodle, try fancy writing, and so on, nothing too artsy, but I found a place where to pin down and organize all the mess in my head and get stuff done!
So, what this first post has to do with bullet journalling? Well… I thought my current notebook was a bit plain and a bit small, so I decided to personalize it with an Harry Potter-themed hard cover.
The first idea was to have the Marauder’s Map, but after a couple of sketches I realized it would have taken forever to draw it with enough details to look good, so abandoned the idea and switched to a galaxy cover.
This first post will show how the cover was painted; the next one will be about how everything is put together (at the time of writing this post I haven’t done it yet, so the result is still uncertain!).
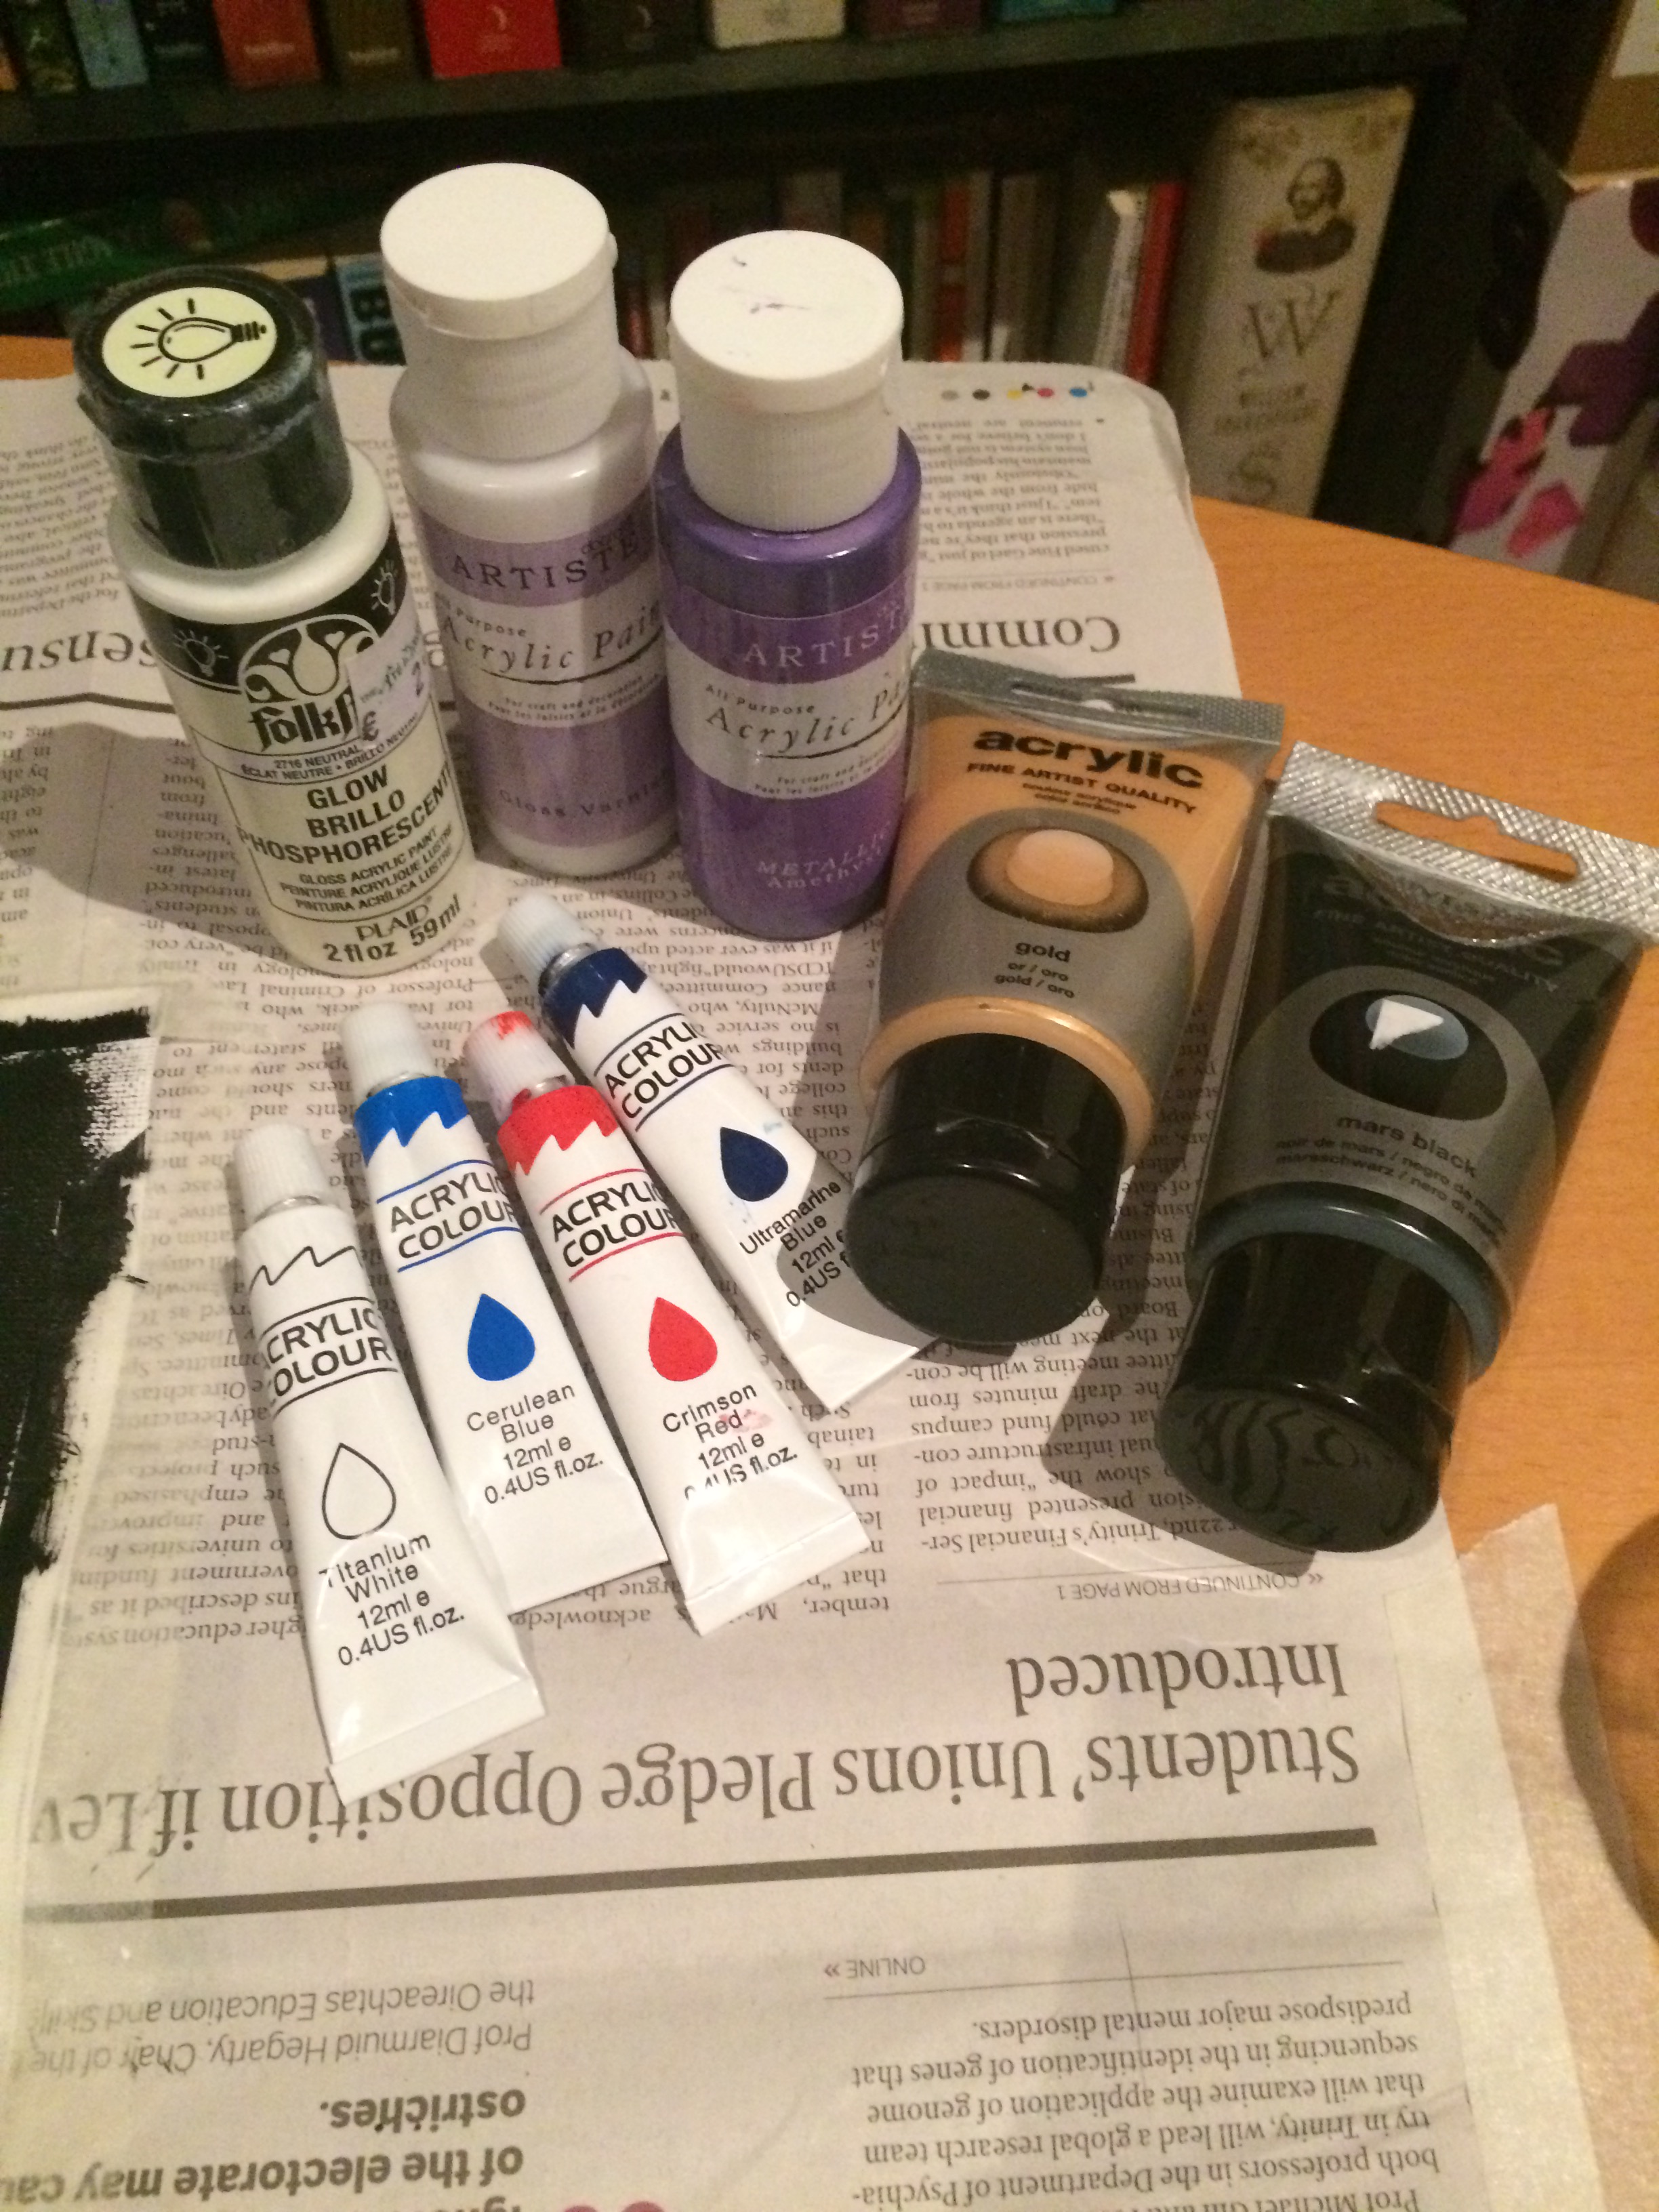
Materials
- Canvas roll
- Blue, purple, black, gold and white acrylic paint
- Glow in the dark paint
- Acrylic gloss varnish
- Brushes
- Old newspapers and masking tape
- Scissors and ruler
- Random sheets of paper to create stencils
Step-by-step
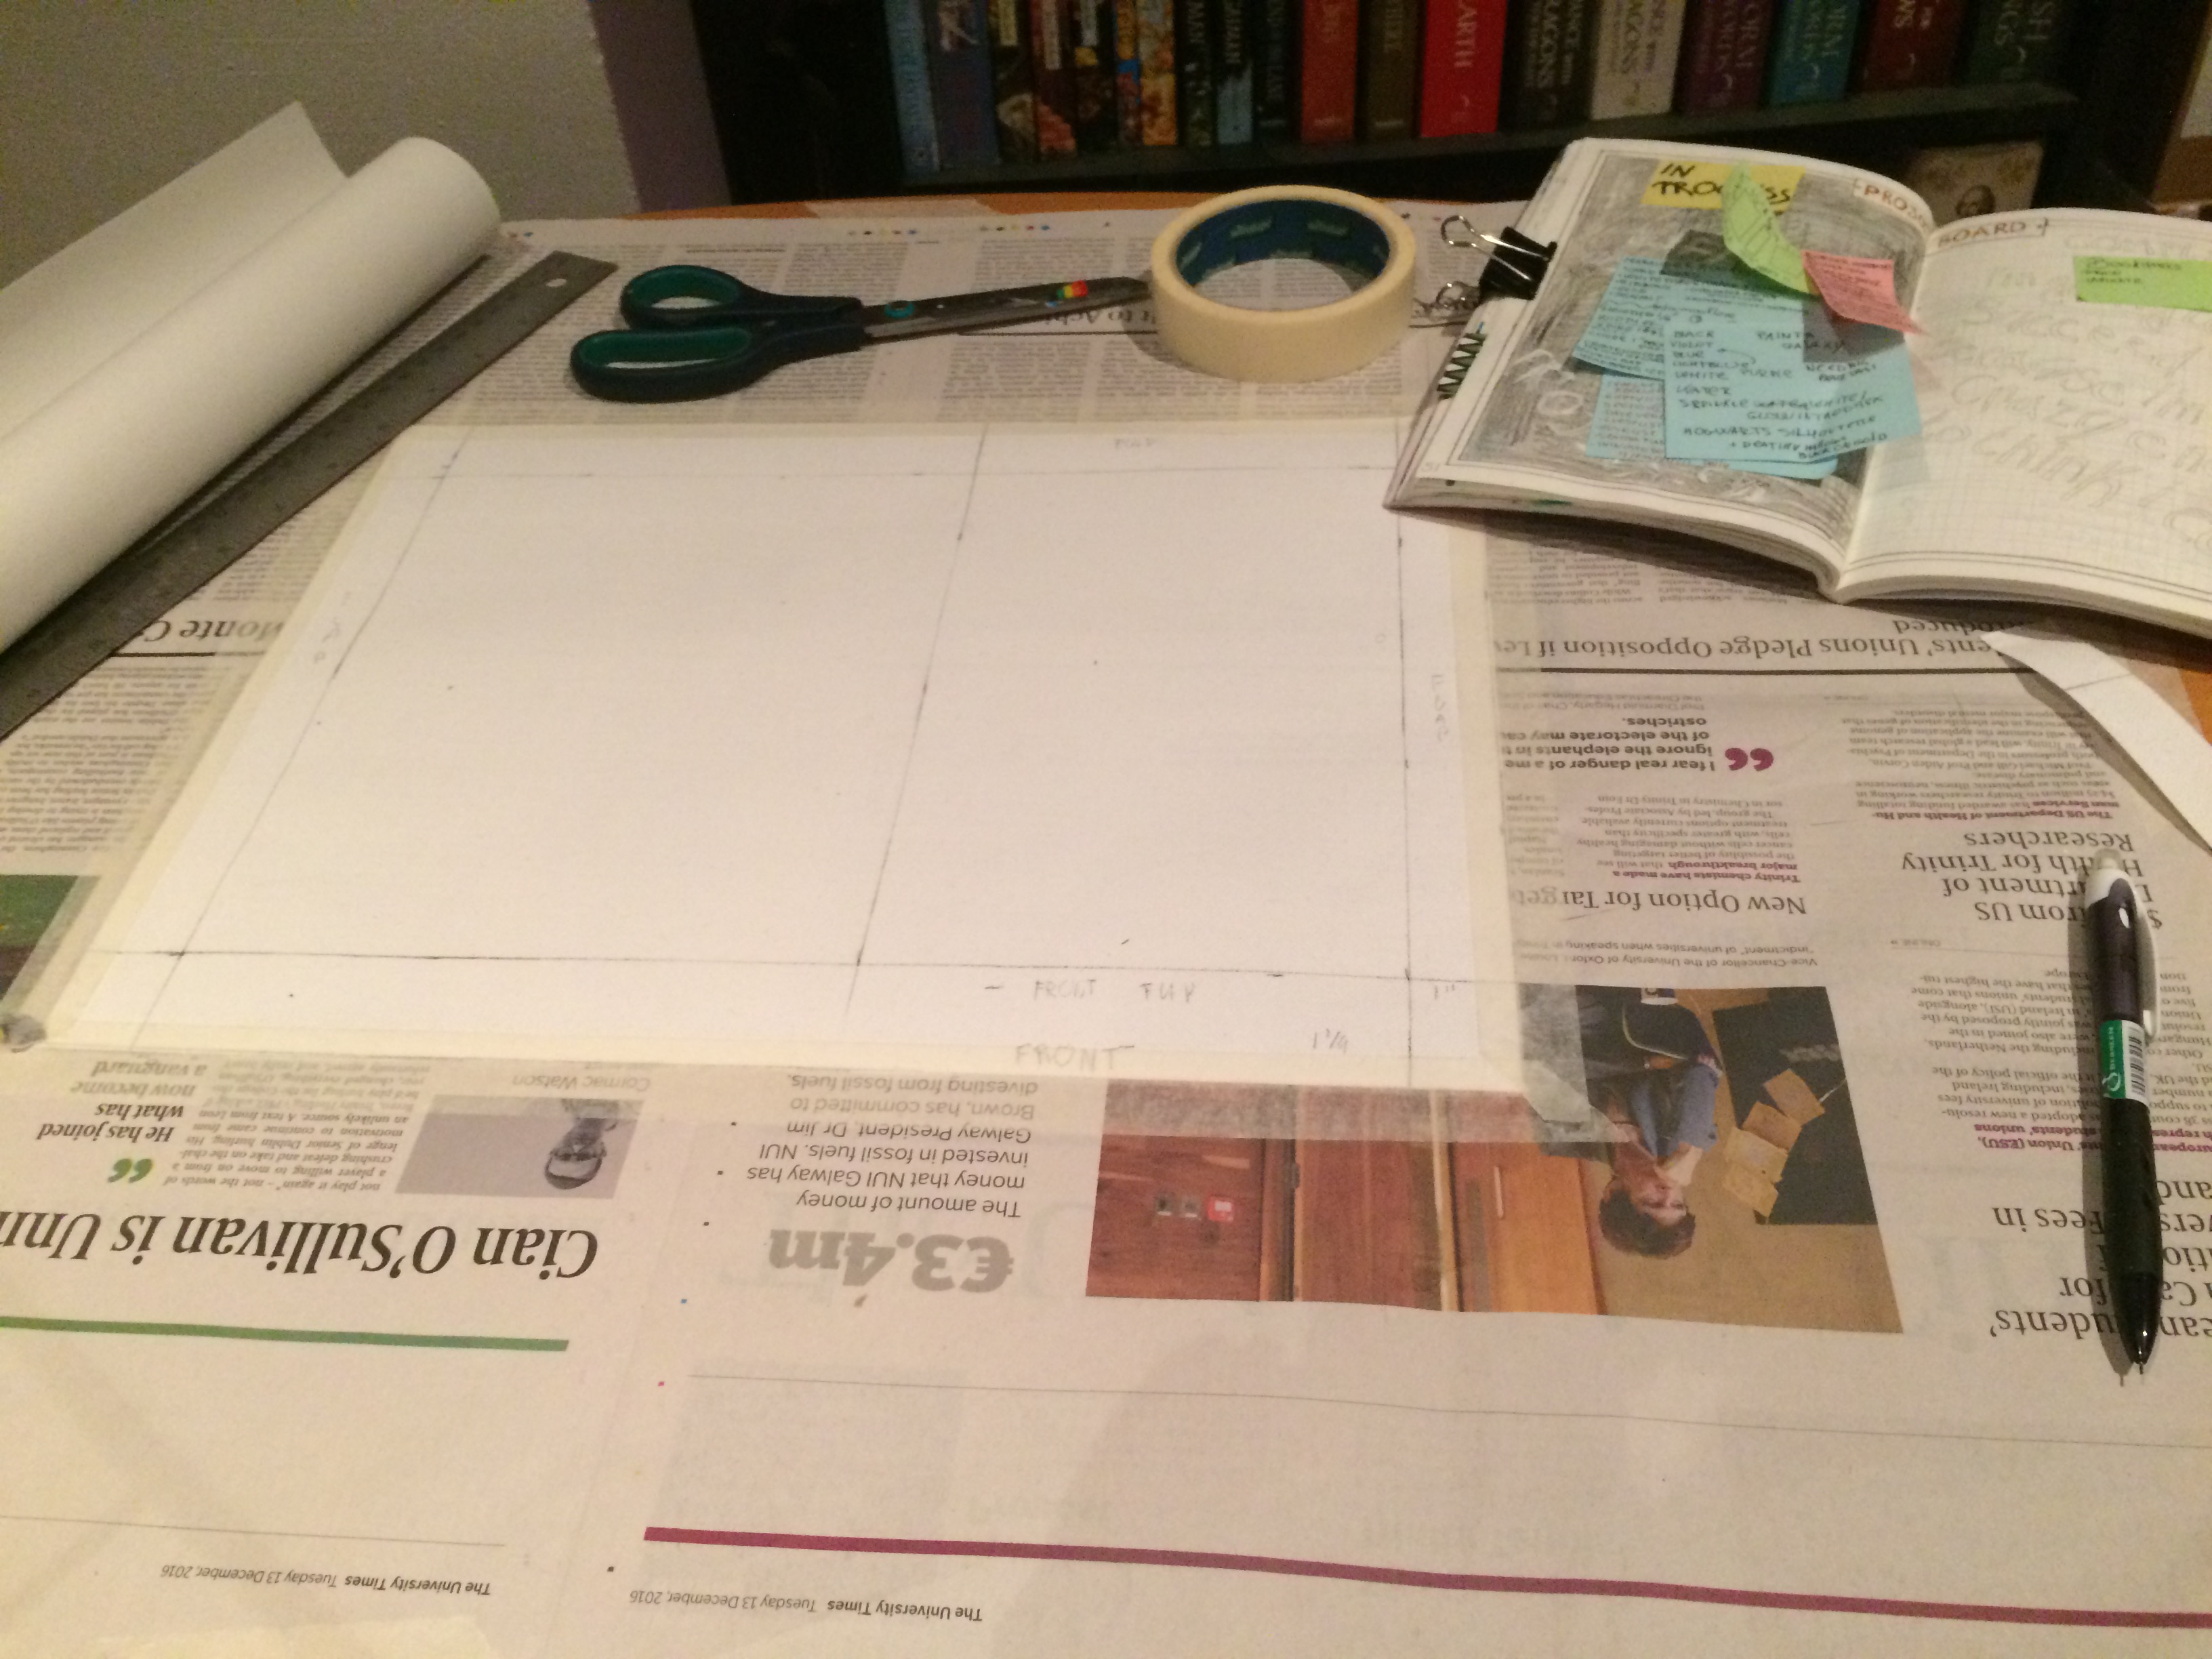
- The first step is cut a piece of canvas in the size needed to be used as a cover. I’ve followed the tutorial from Damask Love to get the right measurements, added the height and width of each piece plus the space that needs to be added between each piece, and don’t forget to add 1″ around. My journal is composed by three A5 journal (in the next post, I will show how I “bound” them together), so the piece of canvas measured 14″ 3/4 x 11″.
- I prepared my working station, aka my Ikea tea table, and draw some lines to mark the front cover.
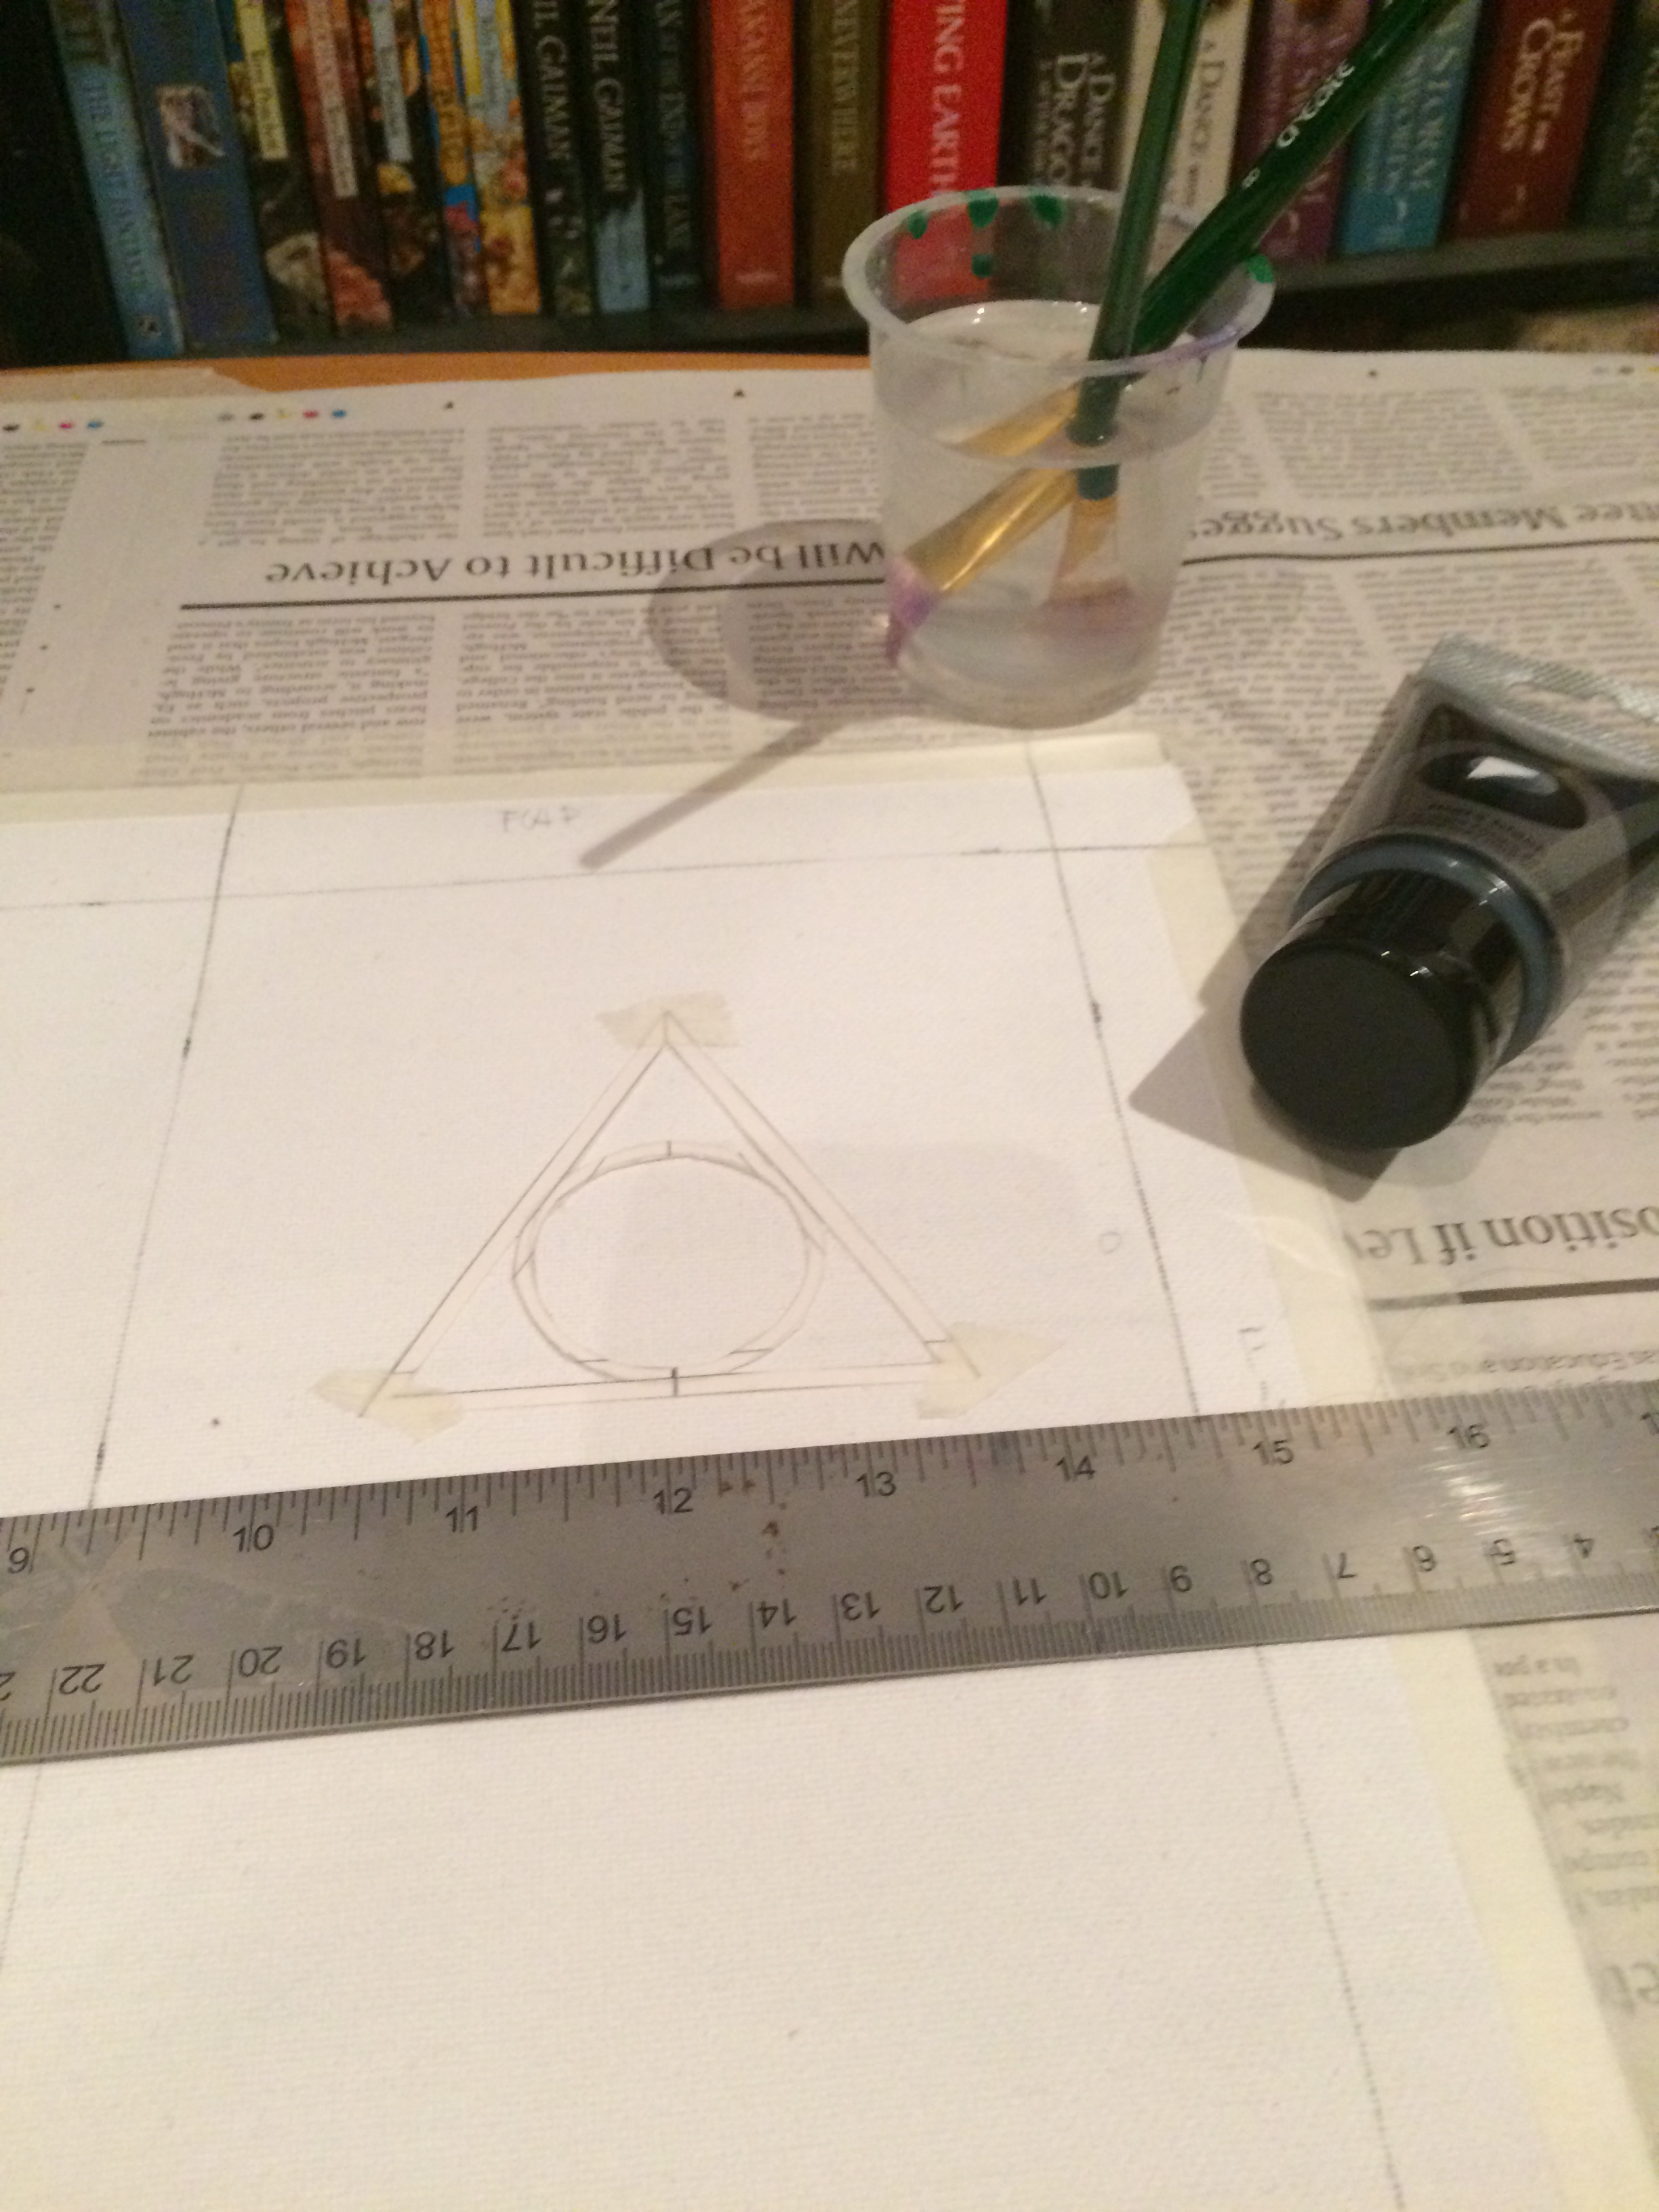
- Then, I placed the Deathly Hallows stencil in the middle and used masking tape to keep it in place.
 The initial idea was also to add a stencil for the Hogwarts skyline, but I was so eager to start and I remembered only after I painted it all black…. But after all, it was a lucky accident as the paint was a bit liquid and went under the stencil as you can see in the picture below.
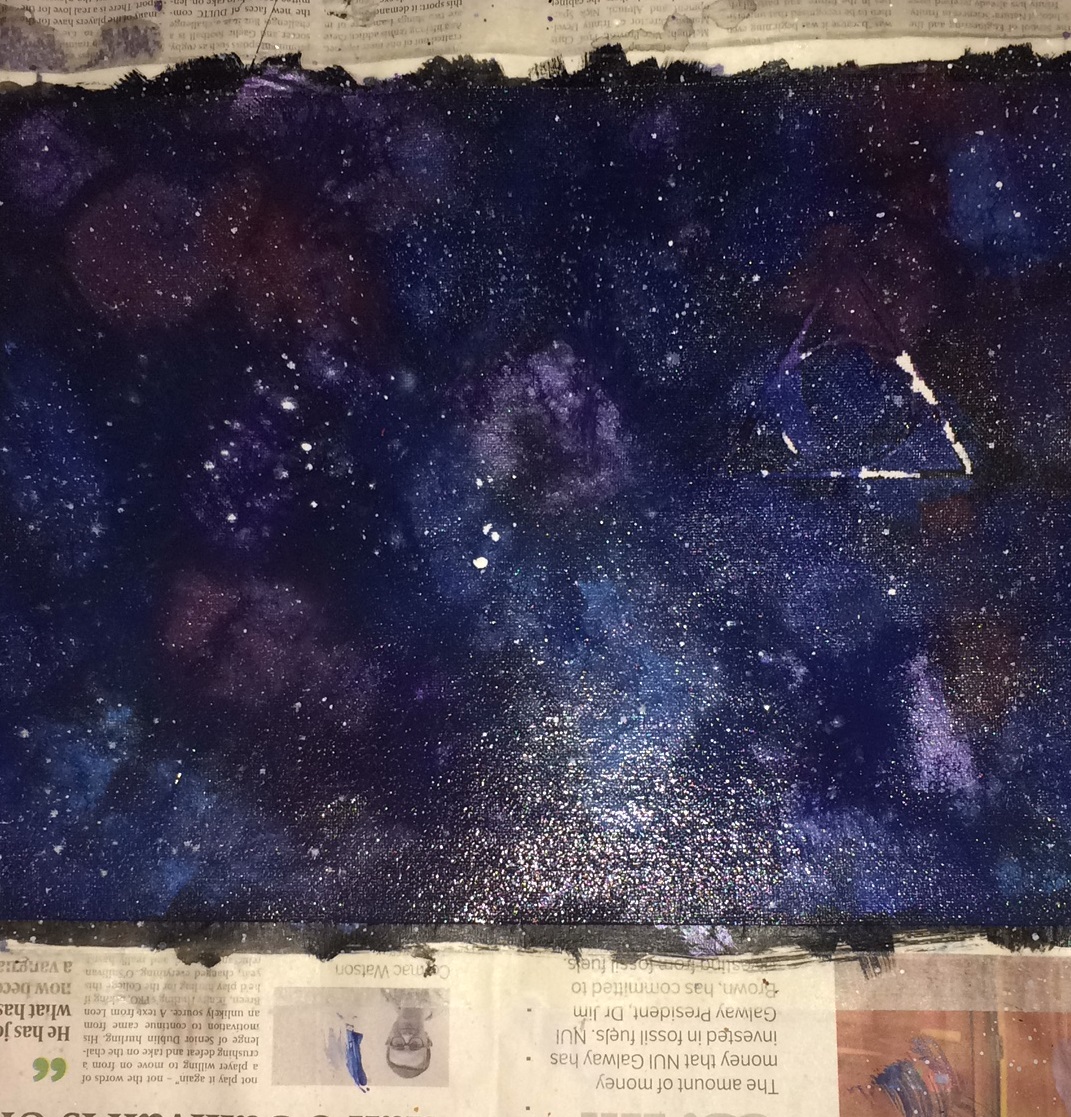
- There are several tutorials and videos on how to paint a galaxy using different mediums, but I followed the 3 below:
- I let it overnight to dry as it was quite watery, then painted the Deathly Hallows symbol in gold.
- Next step was to add the forgotten Hogwarts skyline, I had two ideas on how to do it: only draw a black line but not fill it or fill it all in black. I’ve decided for the second one as there were bits of the galaxy that I didn’t like too much, so I’ve drawn a stencil and used masking tape again to keep it in place. When placing it, keep in mind than about 1″ will be folded and glued to the journal. First, I’ve painted the edges with a small brush and then filled the rest with a bigger brush. I’ve repeated the pattern 1 1/4 times to cover the whole width of the cover.
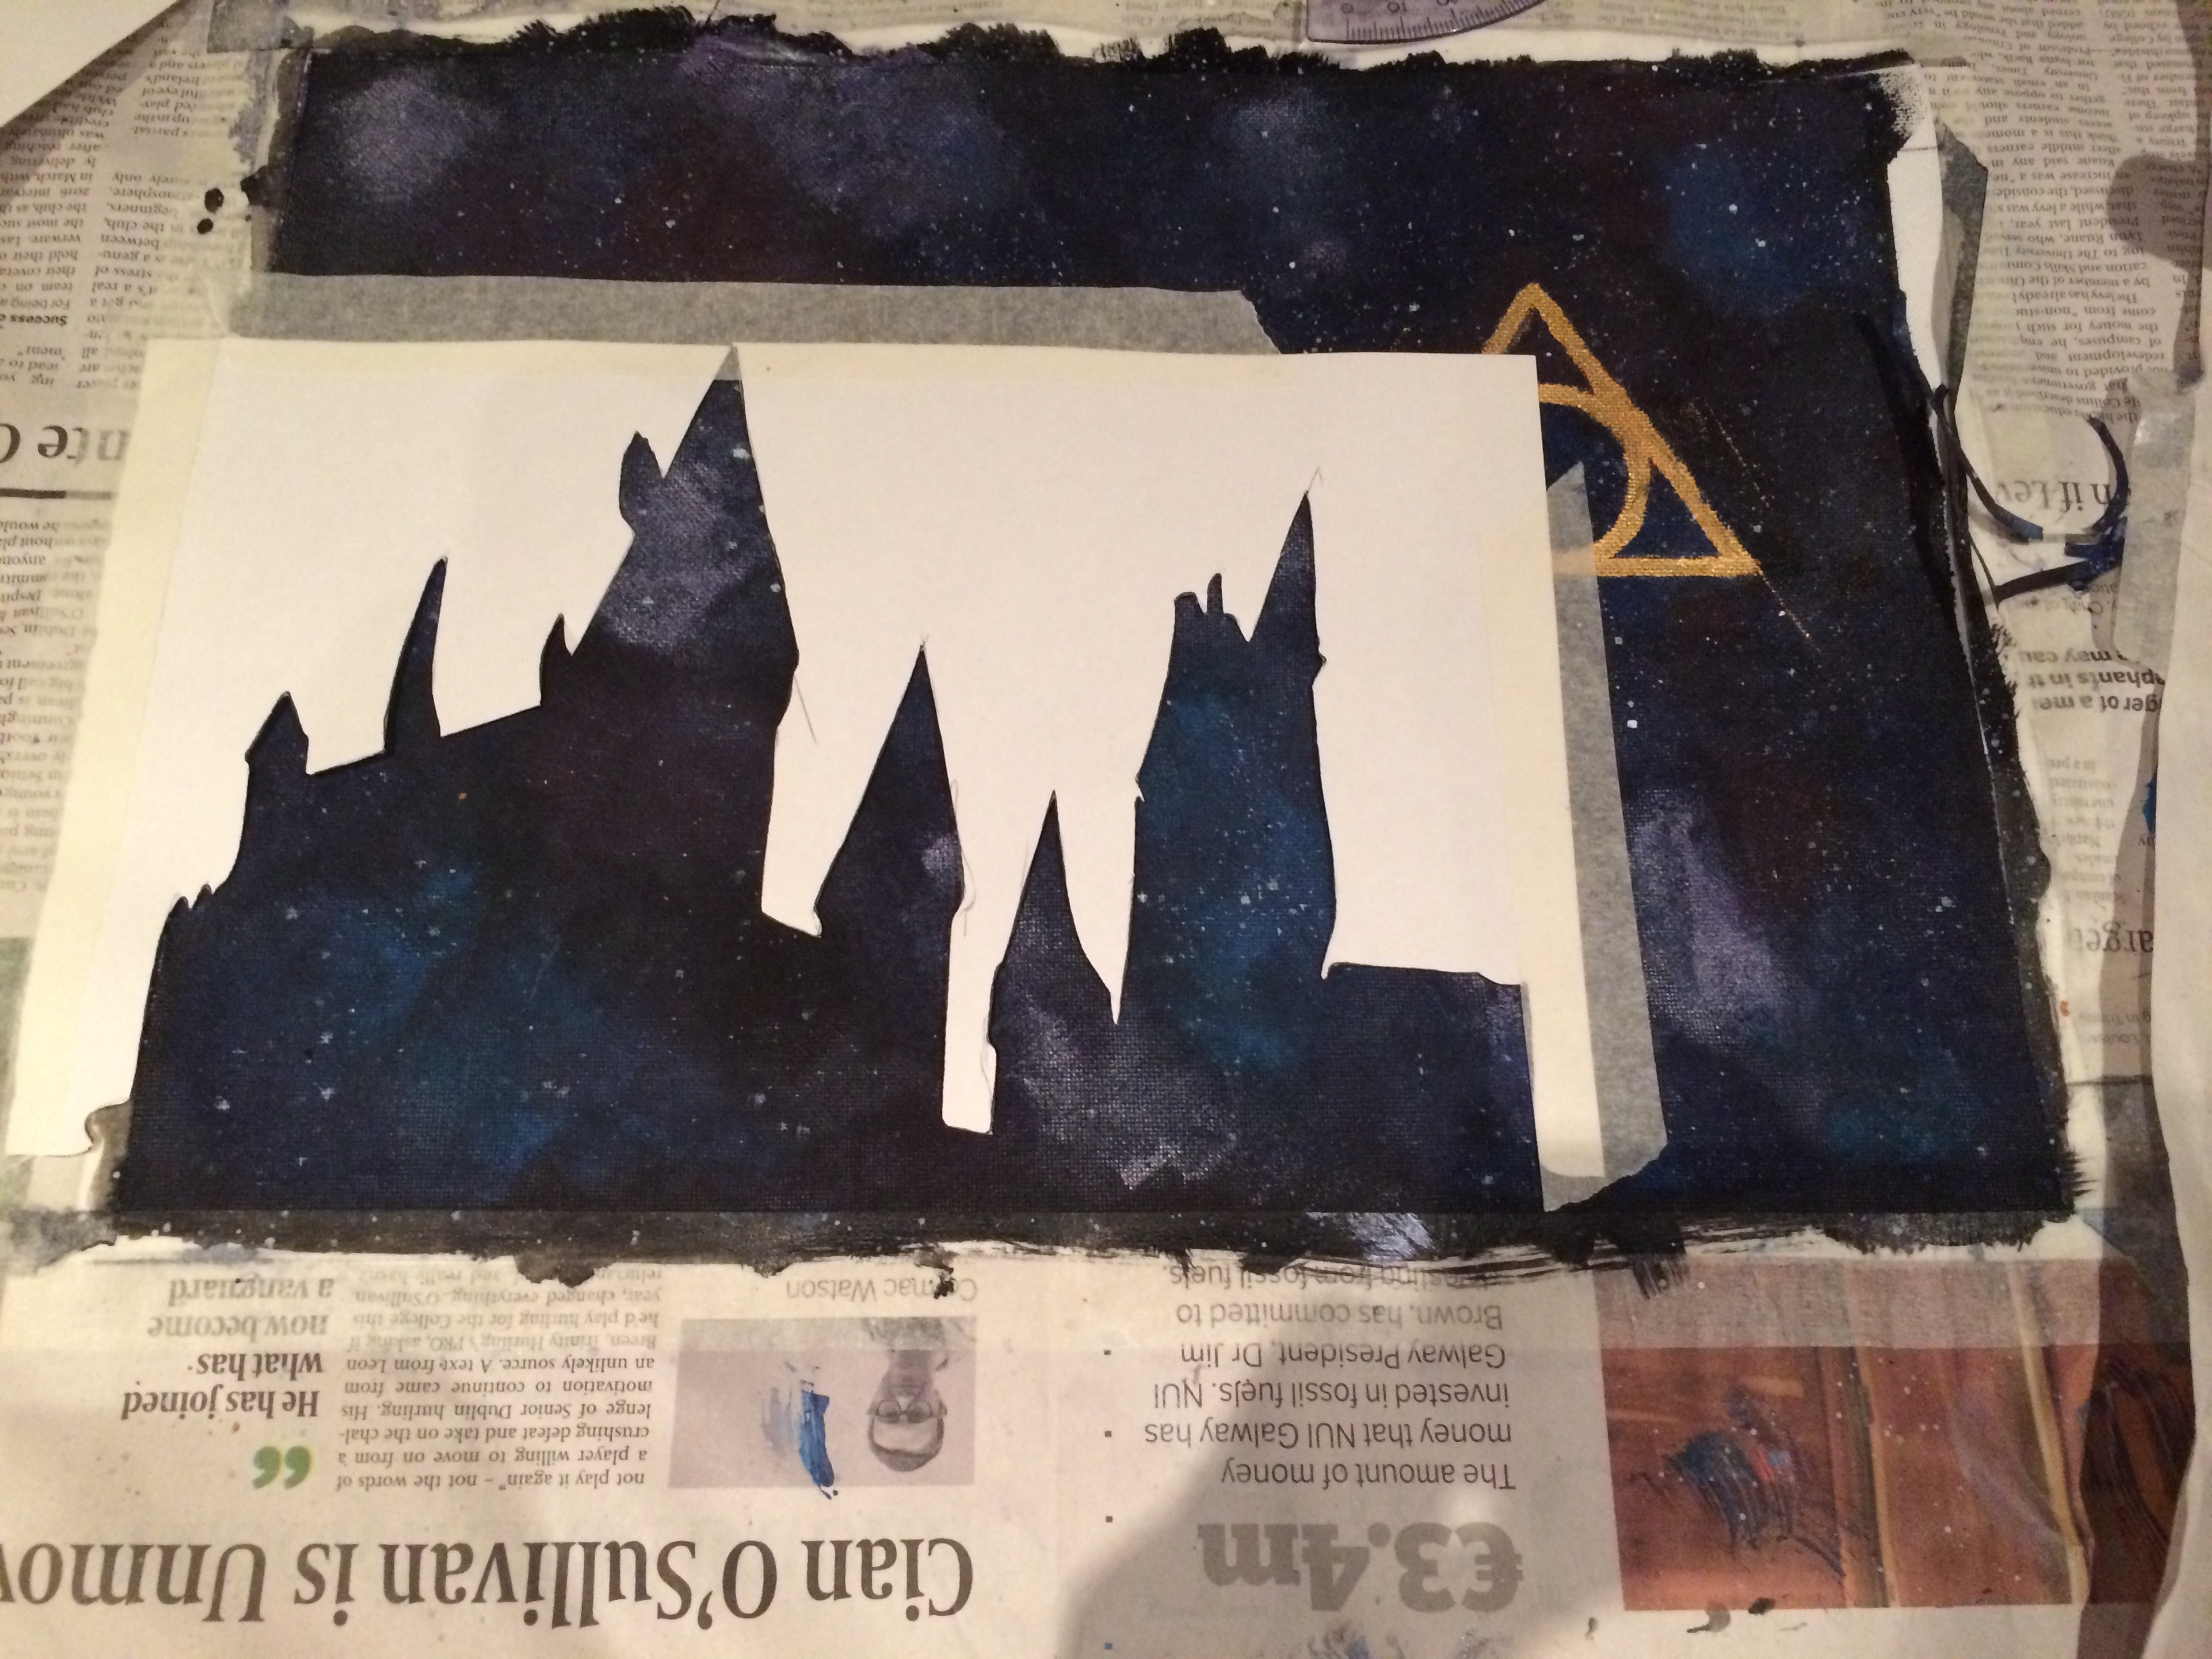
- Just a few more finishing touches: some glow in the dark paint only on the black shape of the castle and then a layer of acrylic gloss varnish on everything. Both these paints look whitish when just applied, but they will be transparent when dry. So here it’s the final result:
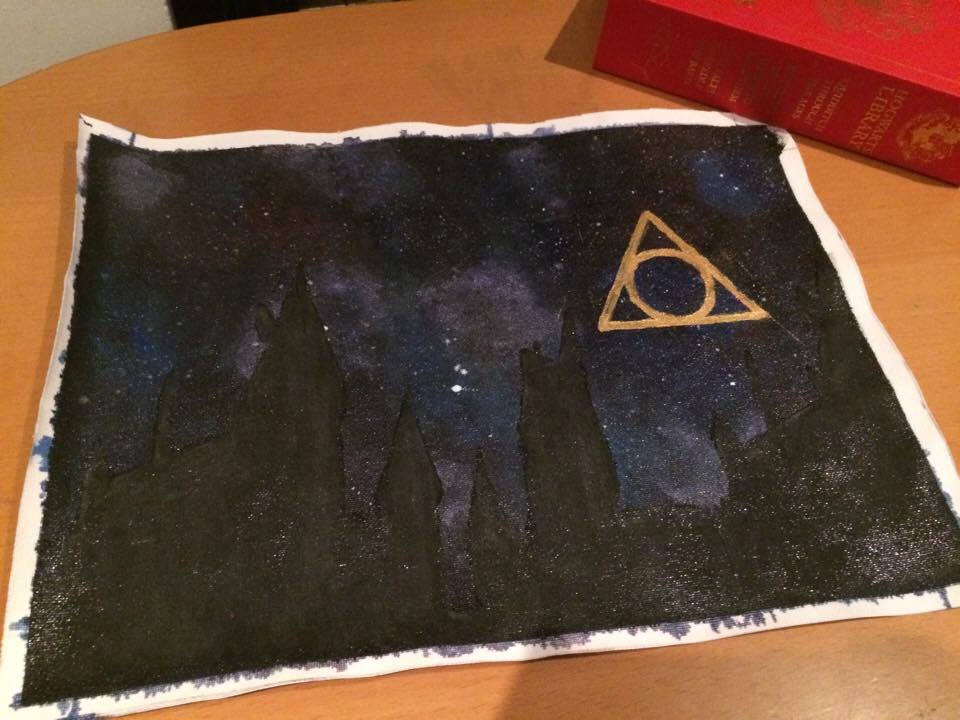
The glow in the dark paint needs to be charged in the sun to glow, that’s not happening right now in Ireland…
It took a week to finish, but I’m satisfied with the result. Hope you enjoyed reading this post and it inspires you!
Tina