Spoiler alert: it wasn’t quick.
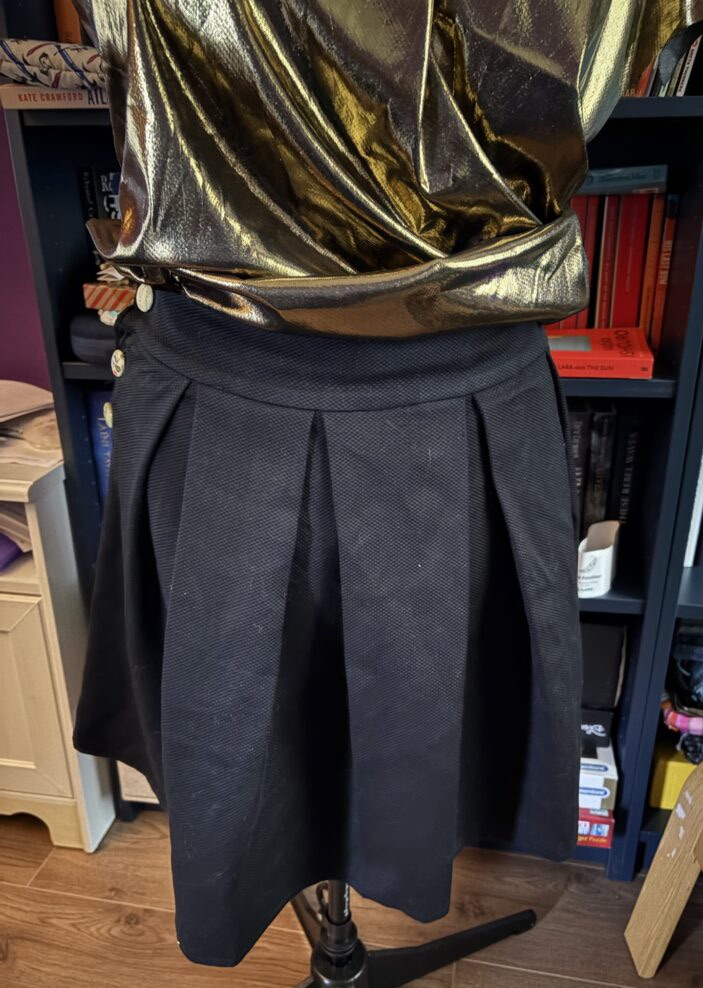
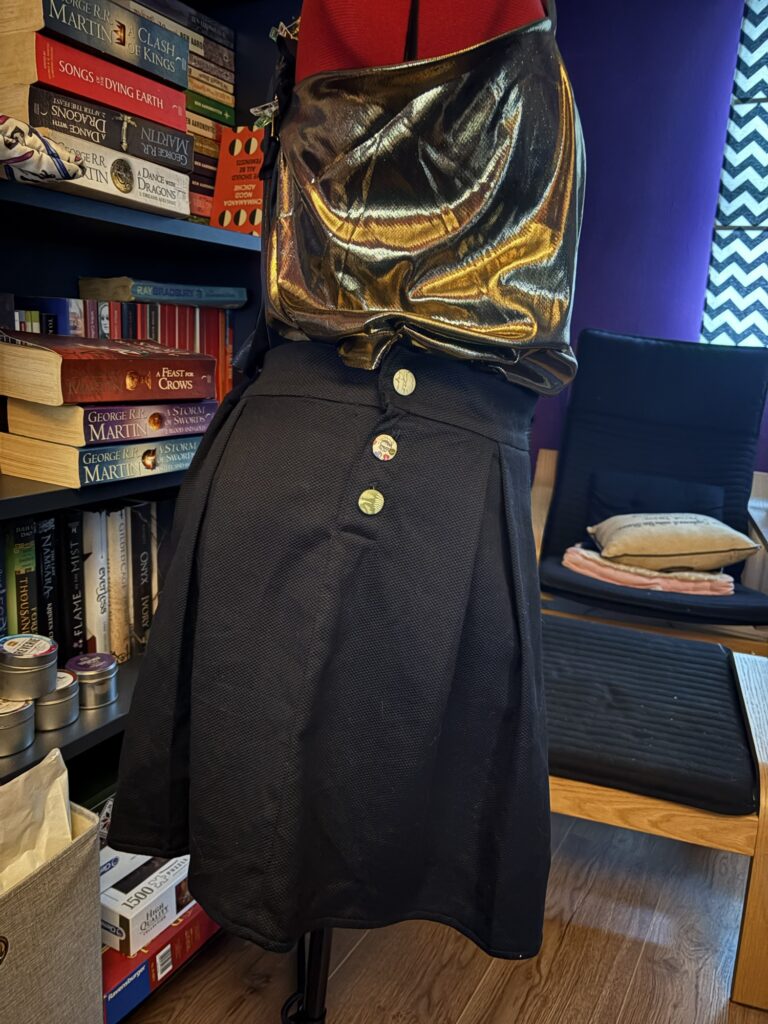
I’ve been wanting to sew myself a skirt for a while, but since parking the summer dress, I haven’t done any sewing. Partially because I’ve been knitting a lot, partially because sewing needs a longer set up: cut the pattern, cut the fabric, sew, rip some seams, sew a bit more, etc. It’s faster to finish a garment than with knitting, but I find it takes more brain power to get started.
But I really wanted something new to wear, however, I hate shopping and I have some fabric stashed for years that I’ve been wanting to use.
This obviously added an additional level to the challenge, as I had to design something that fit the limited amount of fabric I had.
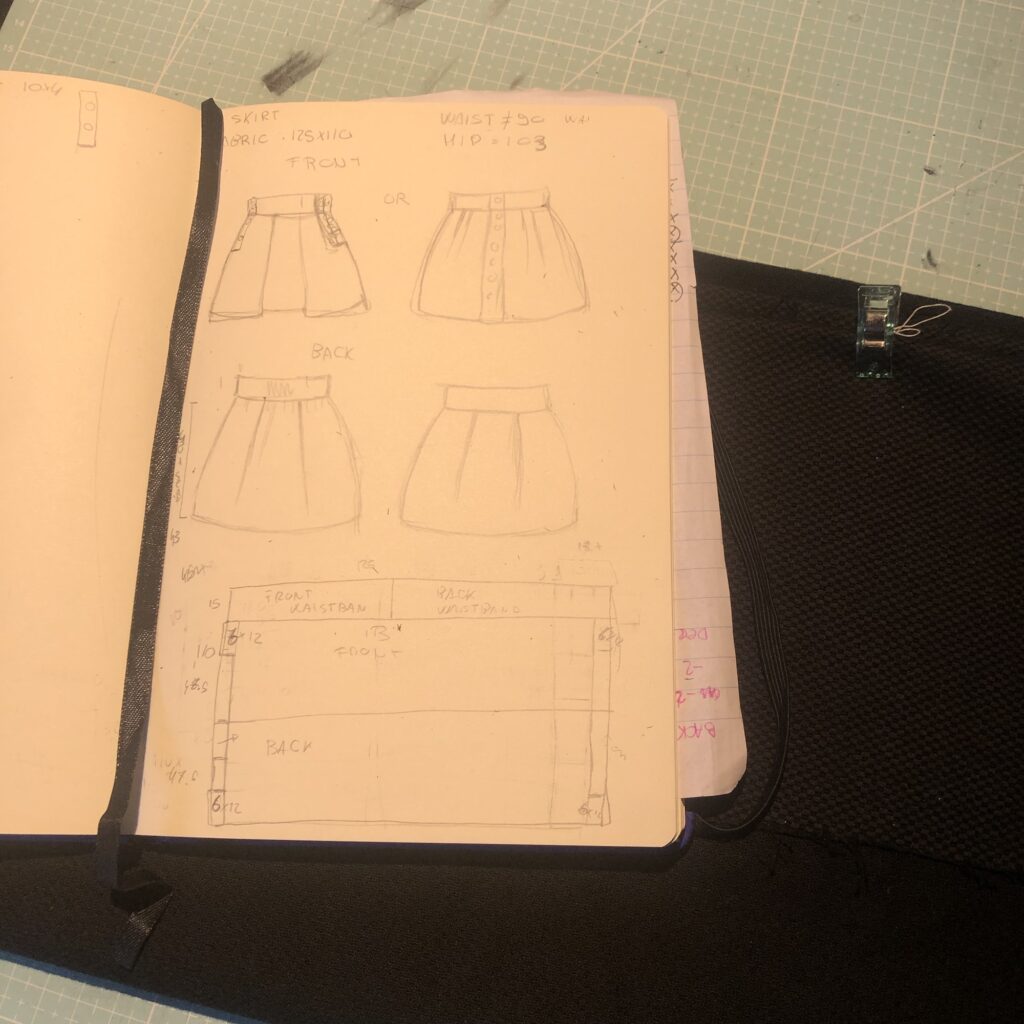
I’m not sure what kind of fabric it is, it’s black and textured, and it might be cotton pique. I only had about 110 x 125 cm. And I wanted to use it all.
And I also didn’t want a zip.
With all those requirements I took my pencil, paper, Pinterest and Google to design what I needed.
With a bit of math, I managed to maximise the use of the fabric leaving only very little leftover fabric.
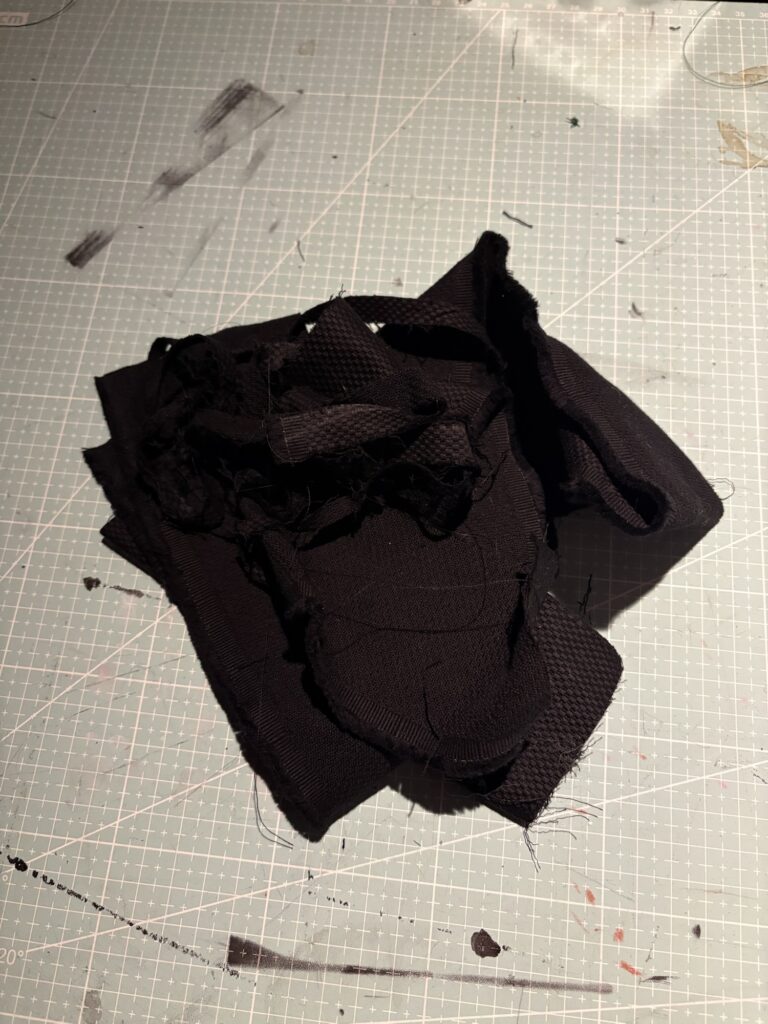
DESIGN
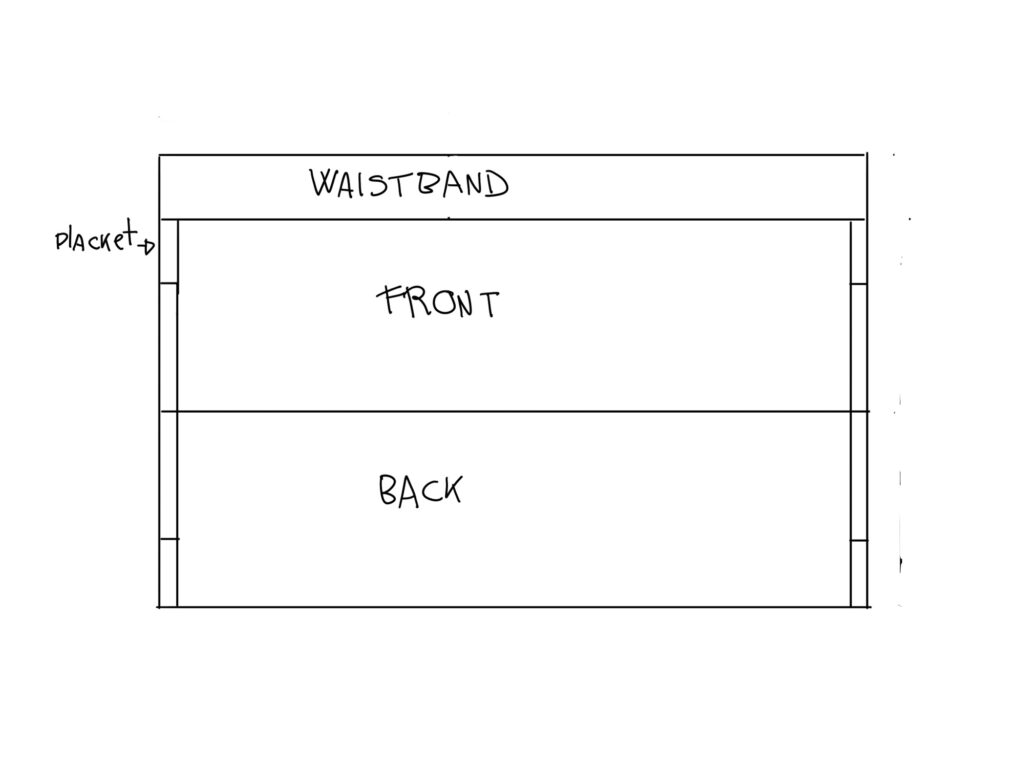
- In order to use all the fabric, the skirt has to be cut in rectangles and then gathered. I chose box pleats because 1) it’s a technique I wanted to try, 2) I hate gathering, 3) it felt a good fit the fabric structure.
- To design and sew the plackets, I’ve watched this video by Mariah Pattie. This was another new technique, and I was delighted with the result.
- The waist band height was dictated by the fabric I had left, and to get the length I just measured front and back of the skirt, and added seam allowance.
MEASURING&CUTTING
The only measurement I took was my waist, then the length and the height of the waistband really depended on how I cut the pieces.
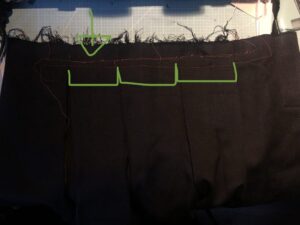
Then for the pleats, I really winged it. I had read about them a while ago, so I had an idea on how to build them, but I also remembered that there was a lot of math involved. I was too lazy to look it up again, so I tried to do my math but it didn’t work out… first, the pleats worked out but it was too big, then I couldn’t just get it. I tried to use all possible math I knew bar building a statistical model to predict pleat width (talking nonsense here…), I tried to look it up in the depth of the internet, but there was no solution to this problem.
Eventually, I somehow got them at the 56th attempt, but one turned out uneven, at that point I didn’t care anymore, I just wanted to wear my skirt.
SEWING
Other than the struggle with the pleats, the skirt was relatively easy to sew.
First, I did the plackets following the video shared above. Then sewed front and back together, and then started the struggle with the pleats. At hindsight, it would have probably better to work out the pleats before joining the two pieces, but hey, it’s all learning.
For the waistband, it was the standard method: right sided together, fold, tidy the back, and top stitch*. I didn’t add any interfacing as the fabric had enough structure on its own.

I searched my button stash, and found a pack of unmatched craft buttons.

PLOT TWIST
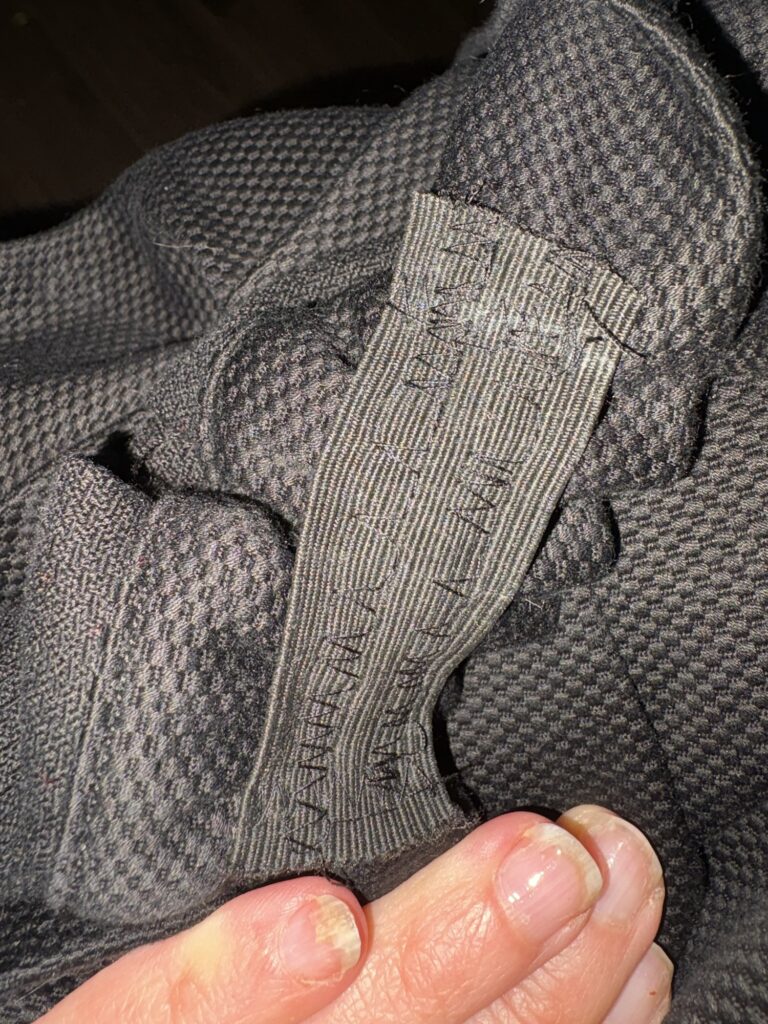
But the challenges weren’t over. I knew it would have been a bit bigger, but that was ok, as I prefer looser clothes anyway. But this thing was huge 😅 not sure how that happened because I had to do the pleats twice because the first time was too big, but hey. I wore it once with safety pins on the back, because at that point I HAD to wear it.
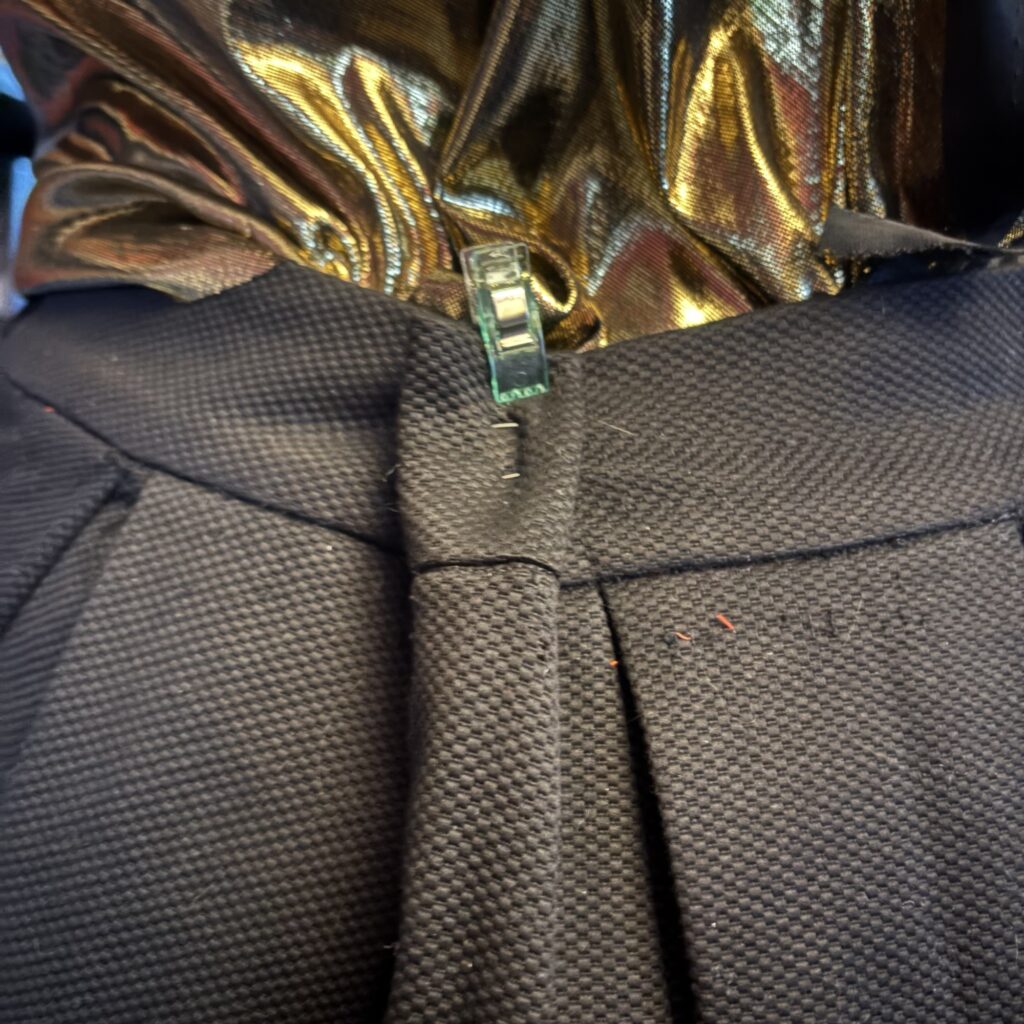
And now I sewed in a piece of elastic in the back as a proper fix. I wasn’t going to start over again.
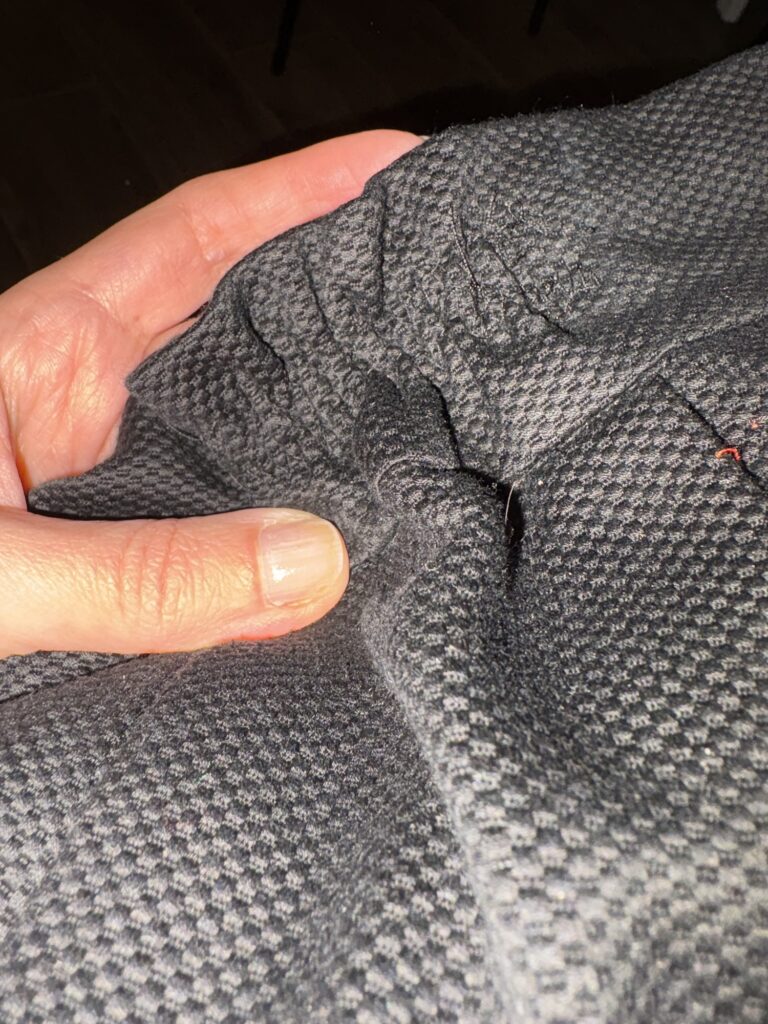
I have to admit I overestimated my sewing skills, I really thought I could pull it off in a weekend, and instead it took several weekends. However, I’m happy how it turned out, and definitely it was a good learning!
*This post explains it much better than I could ever.