Note: I wrote this post, and others about HP related crafts before I realized the author’s ideas and beliefs greatly (to put it mildly) disagree with mine. I still decided to leave this post up because it can easily be use to make a anything-else-themed journal cover.
And it’s finally done! I’m quite pleased with it even thought it is not perfect and there was a tiny mistake that costed me a few points of my nerd membership. More details on this later, after a short moment of self-gloating *extremely smug face*
Ok, now that my ego is satisfied, let’s move on to the details of these craft adventure. Aside for some little adjustments, I followed three tutorials of the Bookbinding University from Damask Love:
Materials:
- Canvas painted in my previous post
- Scissors and ruler
- White paper sheet
- Colored card
- PVA glue
- Big brush
- Some leftover cord
This part of the project is divided in three parts: first, “binding” (you’ll understand why I’m using quotes shortly) together the three notebooks; second, adding the inside cover to the journal; and third, joining the brick-journal to the painted canvas. The latter step stressed me a bit, but I managed it without messing up (too much).
First, the fake-binding
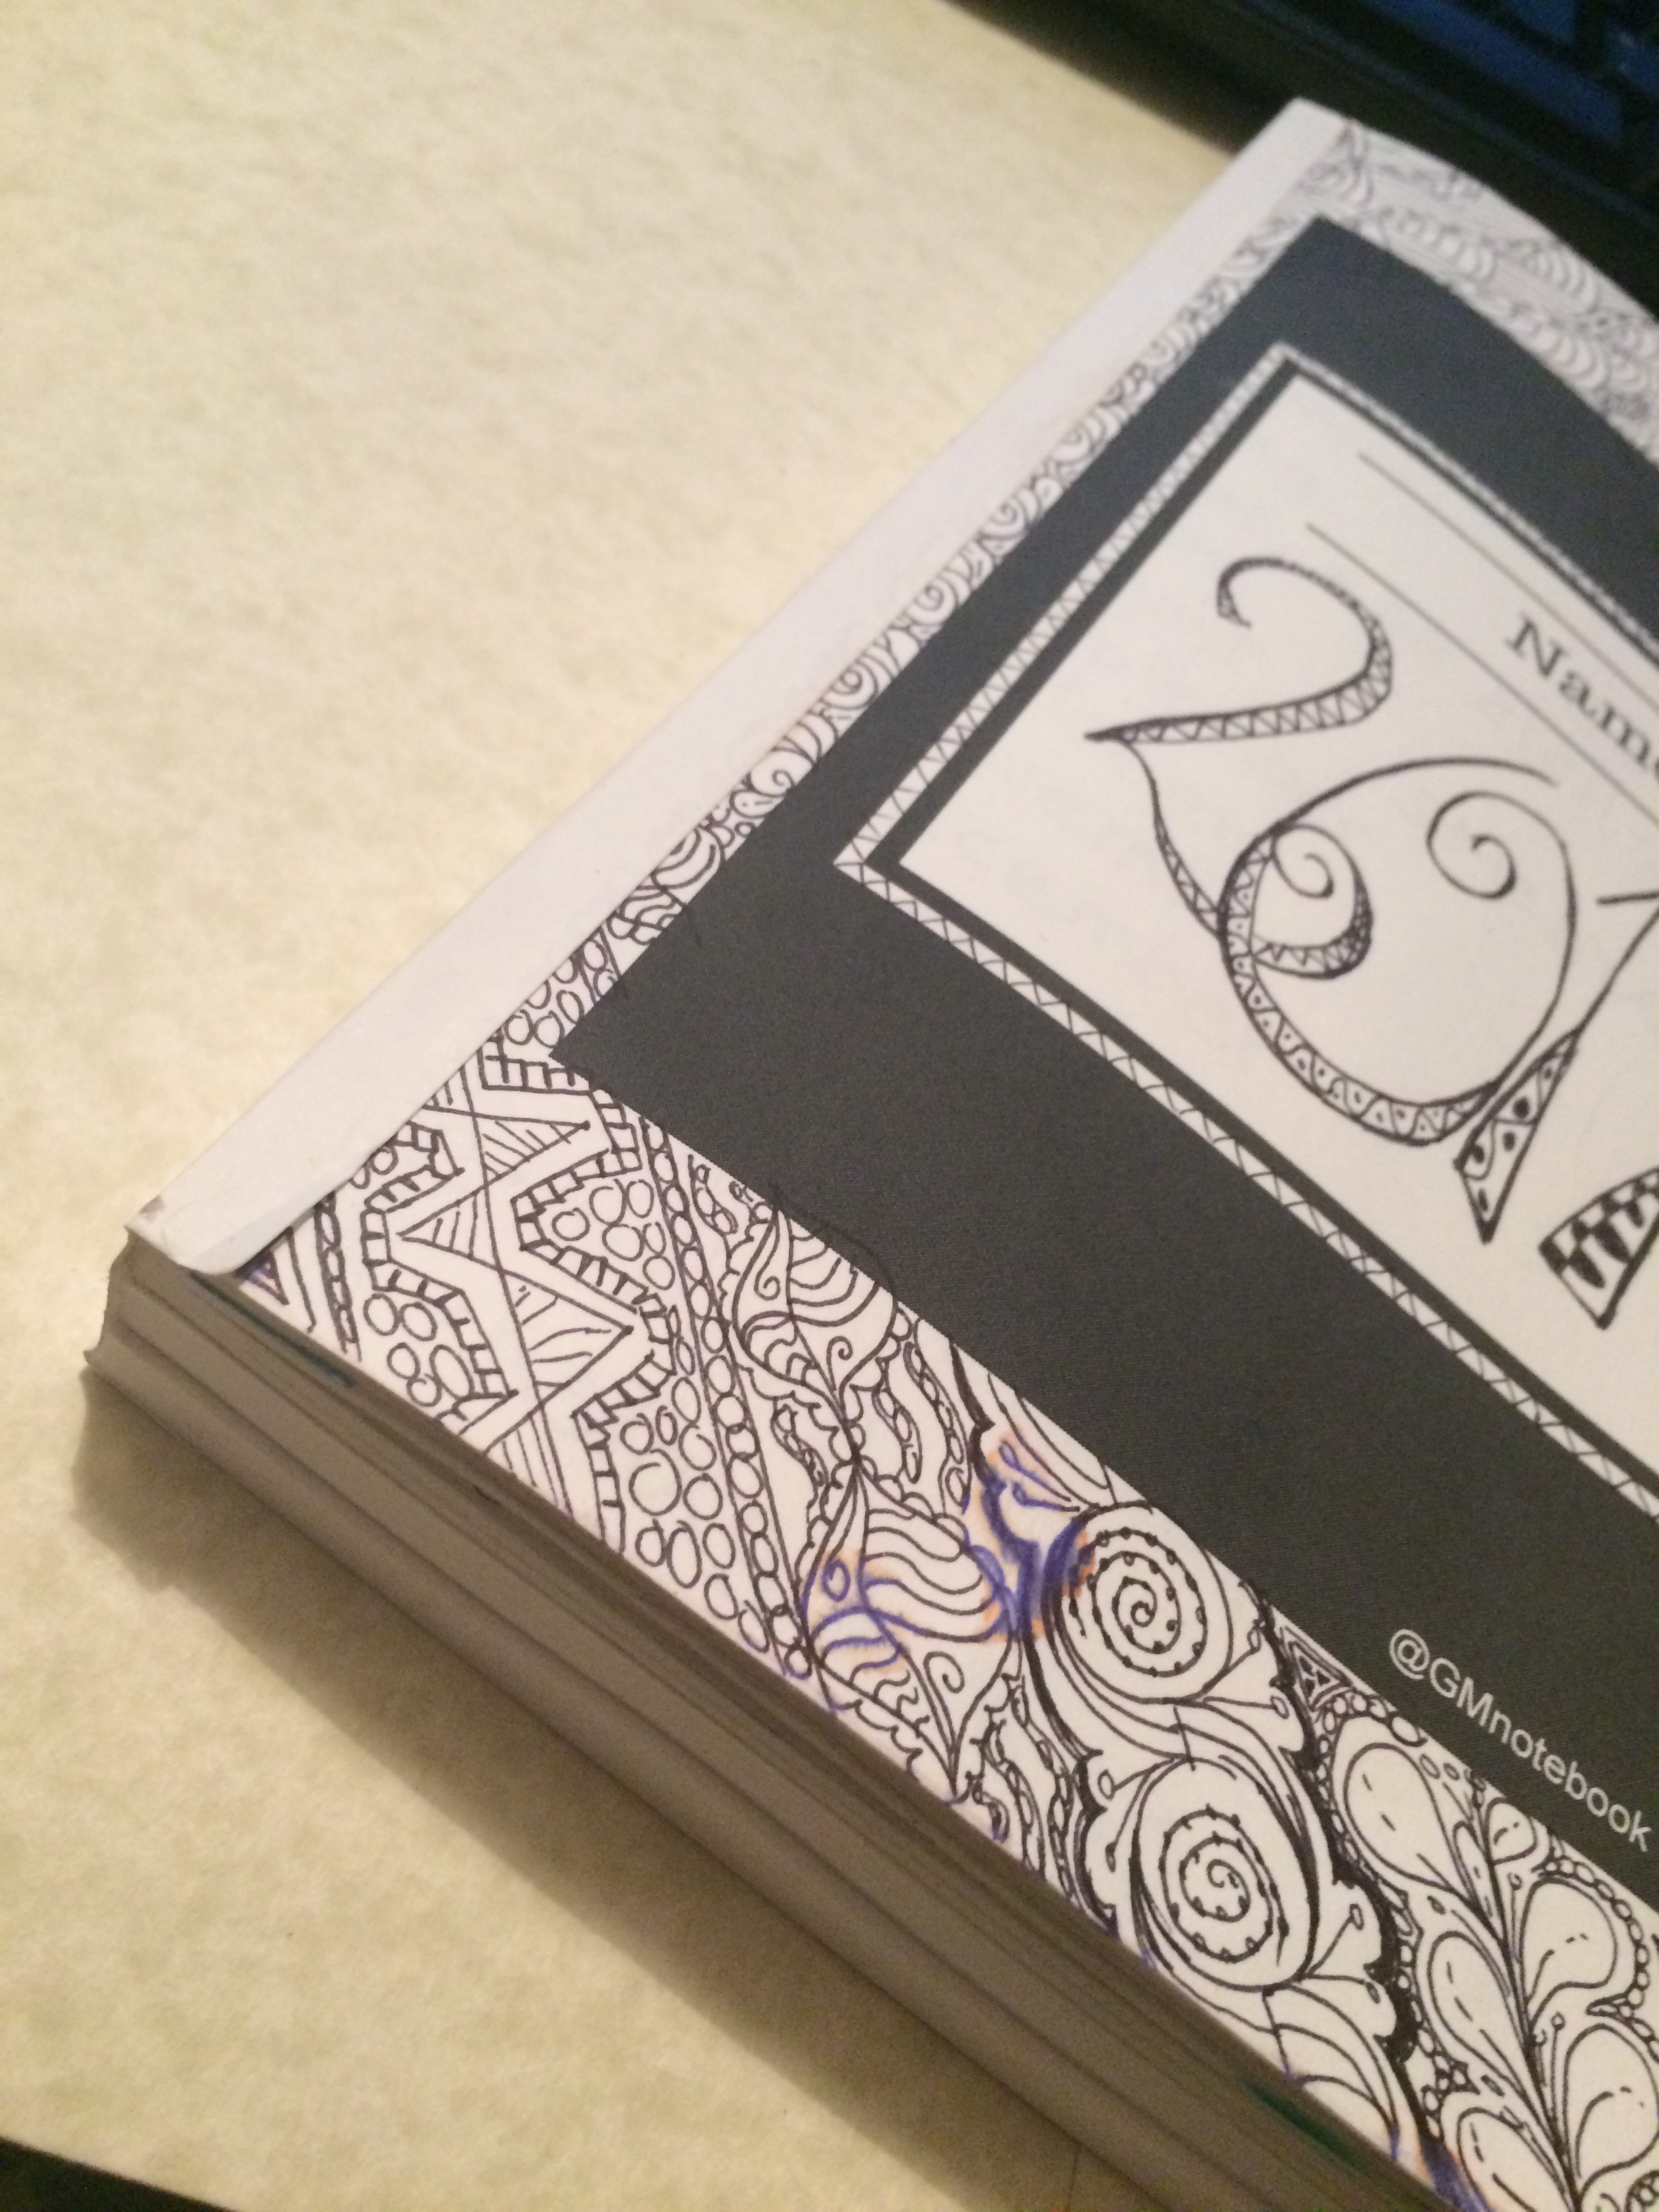
- I got three little notebooks from Amazon – I’ll spare you the details on how and why, that’s for another post- to ensure I had enough pages for 2017 and I needed to join them to pursue my master plan.
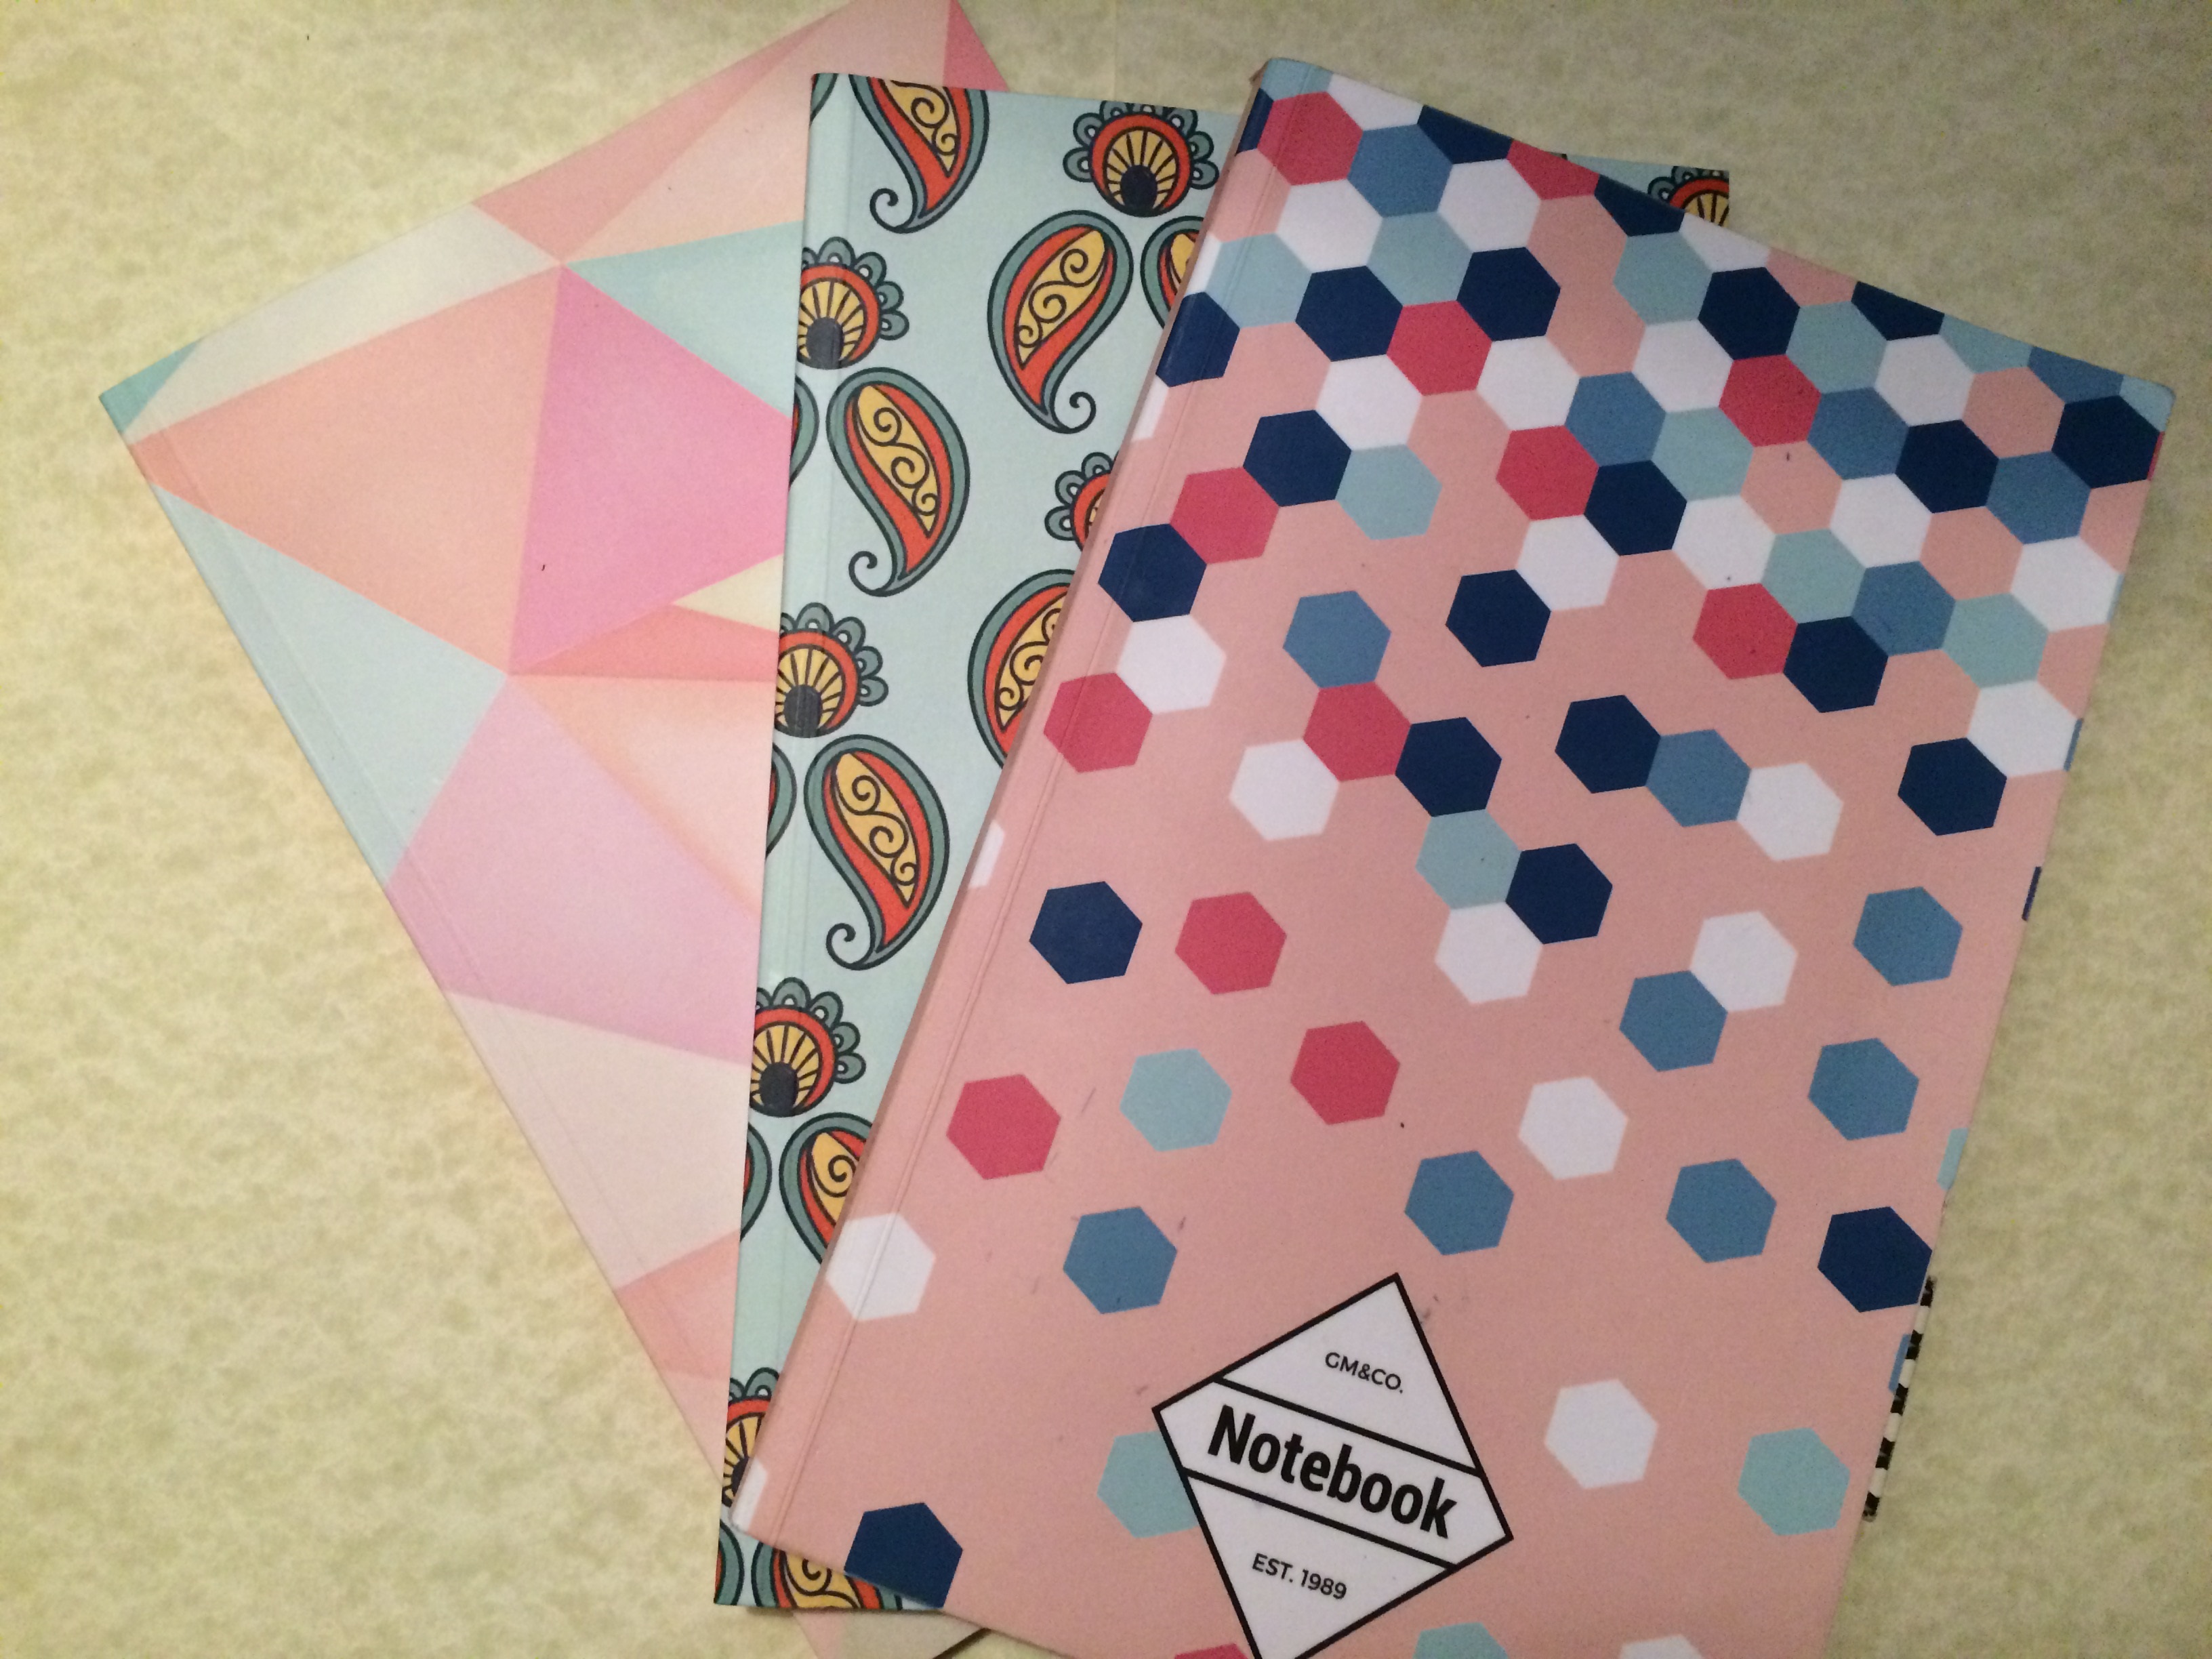
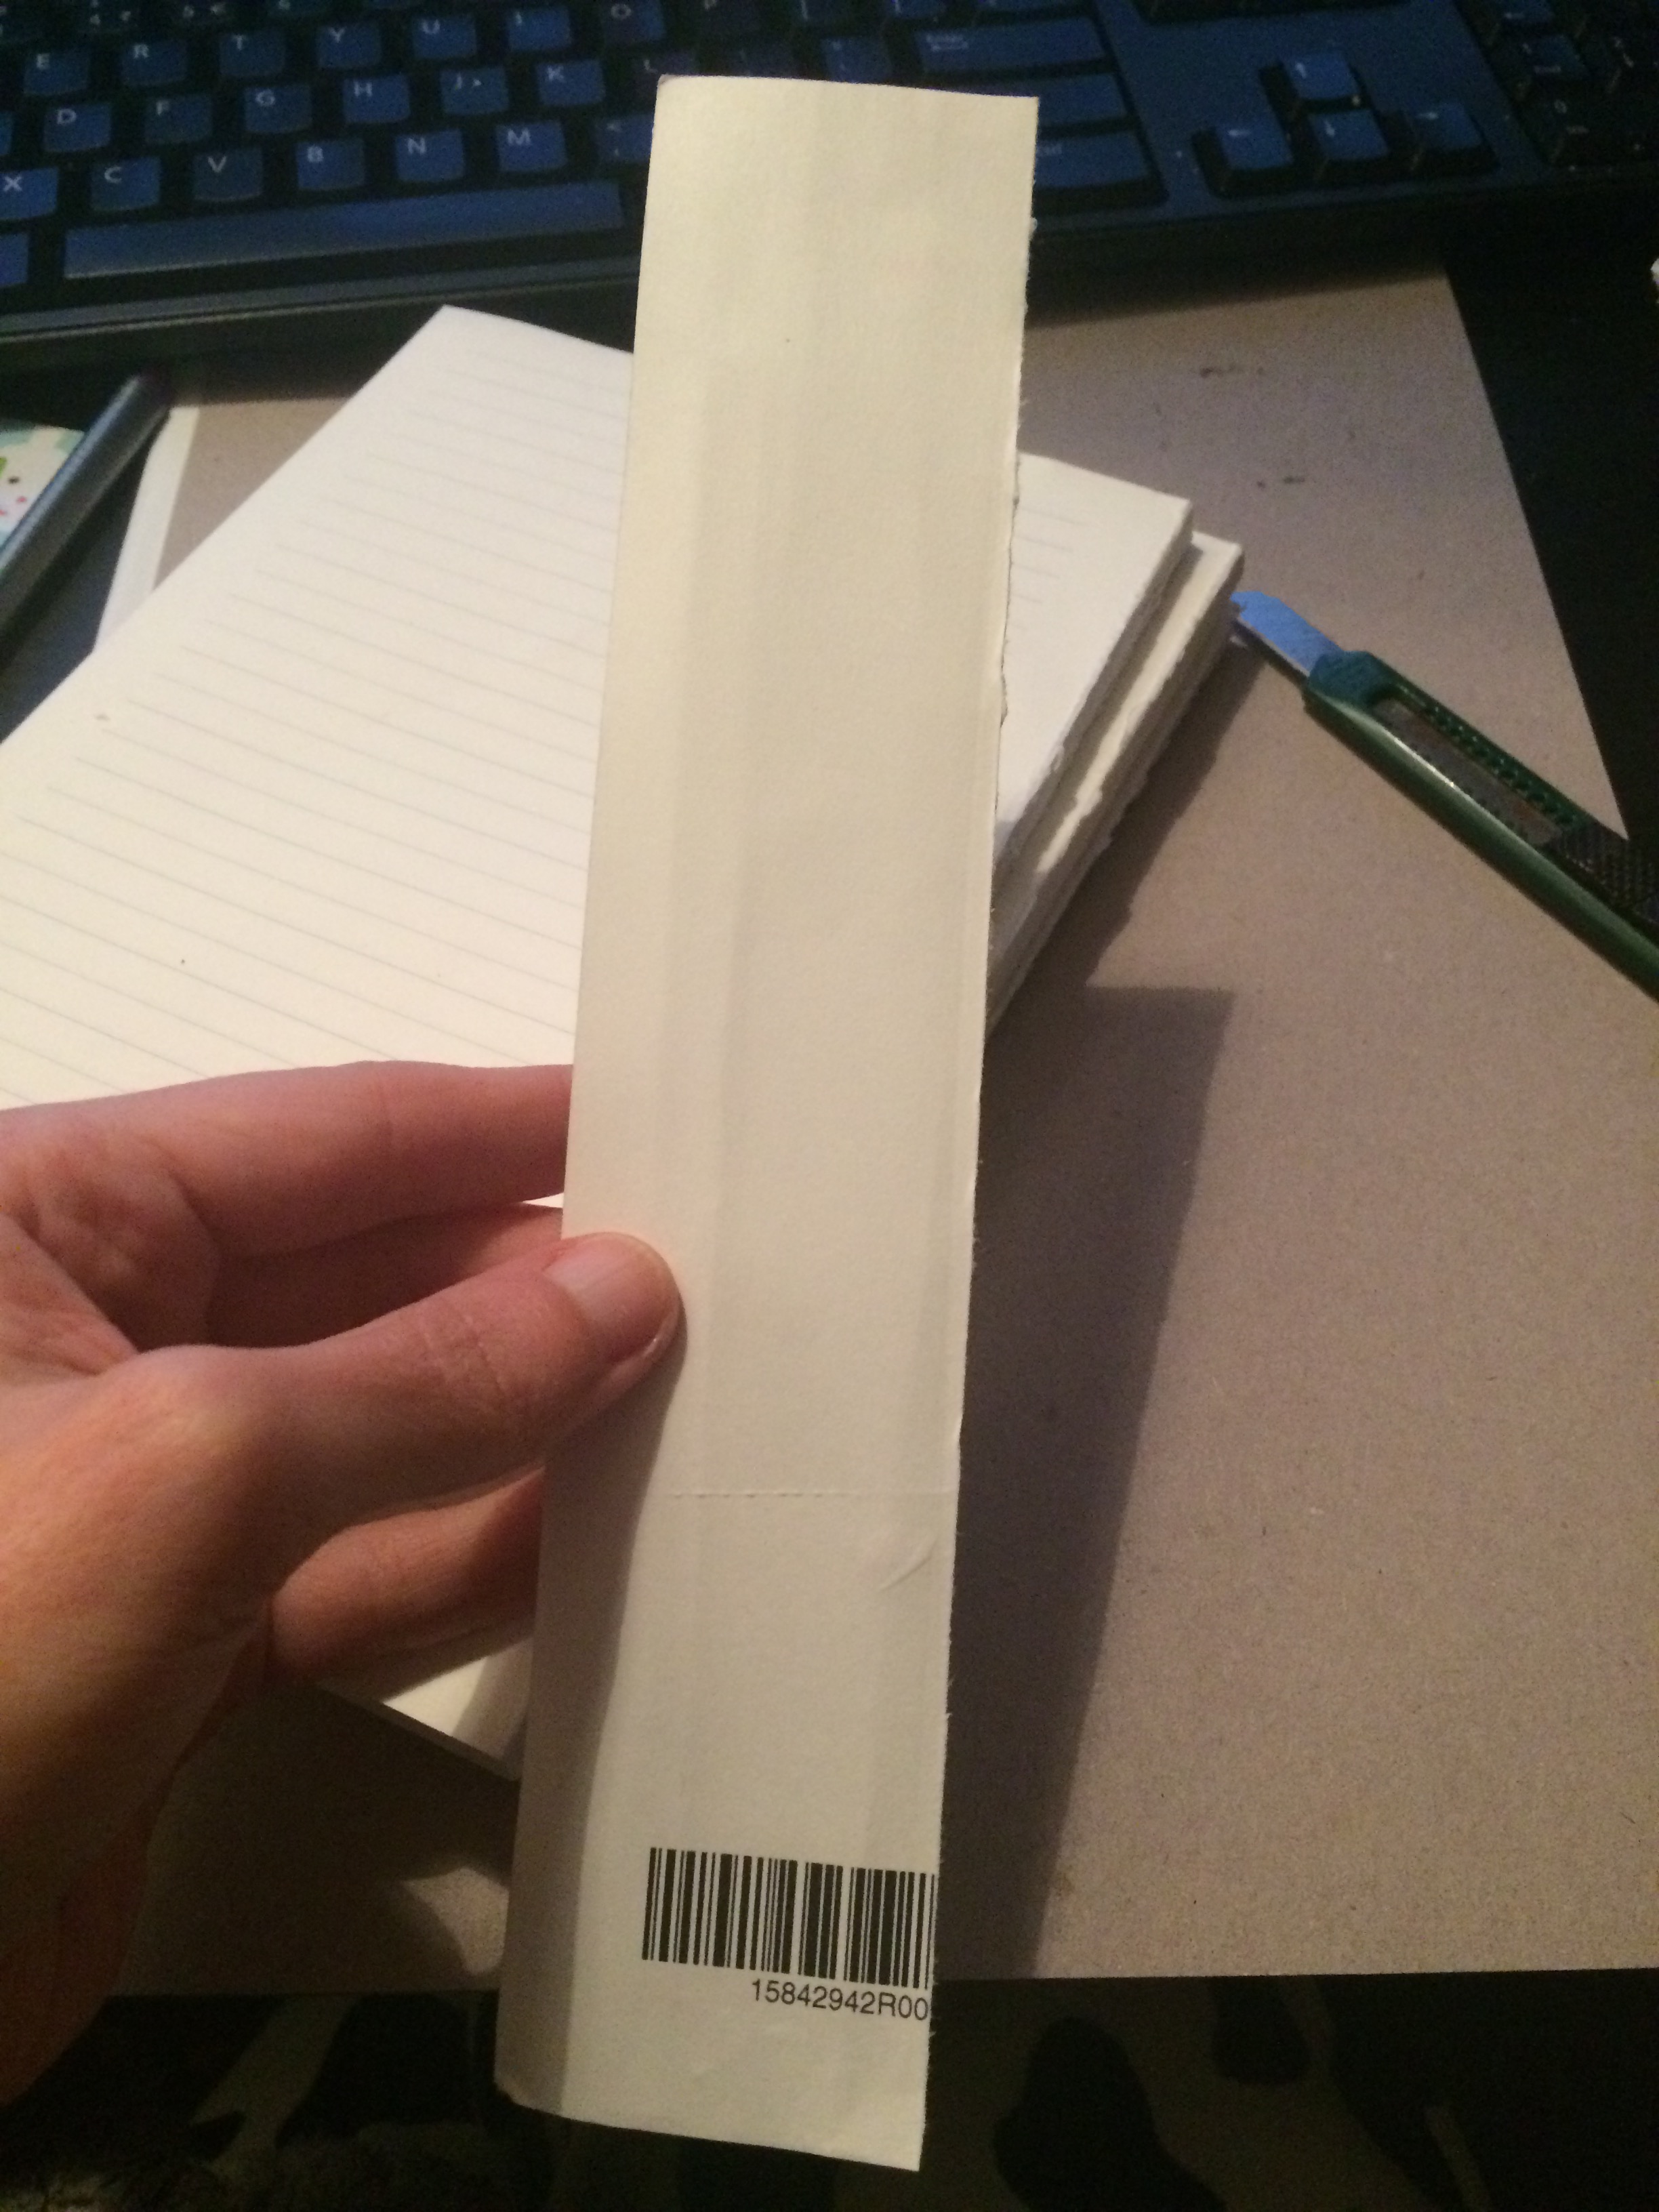
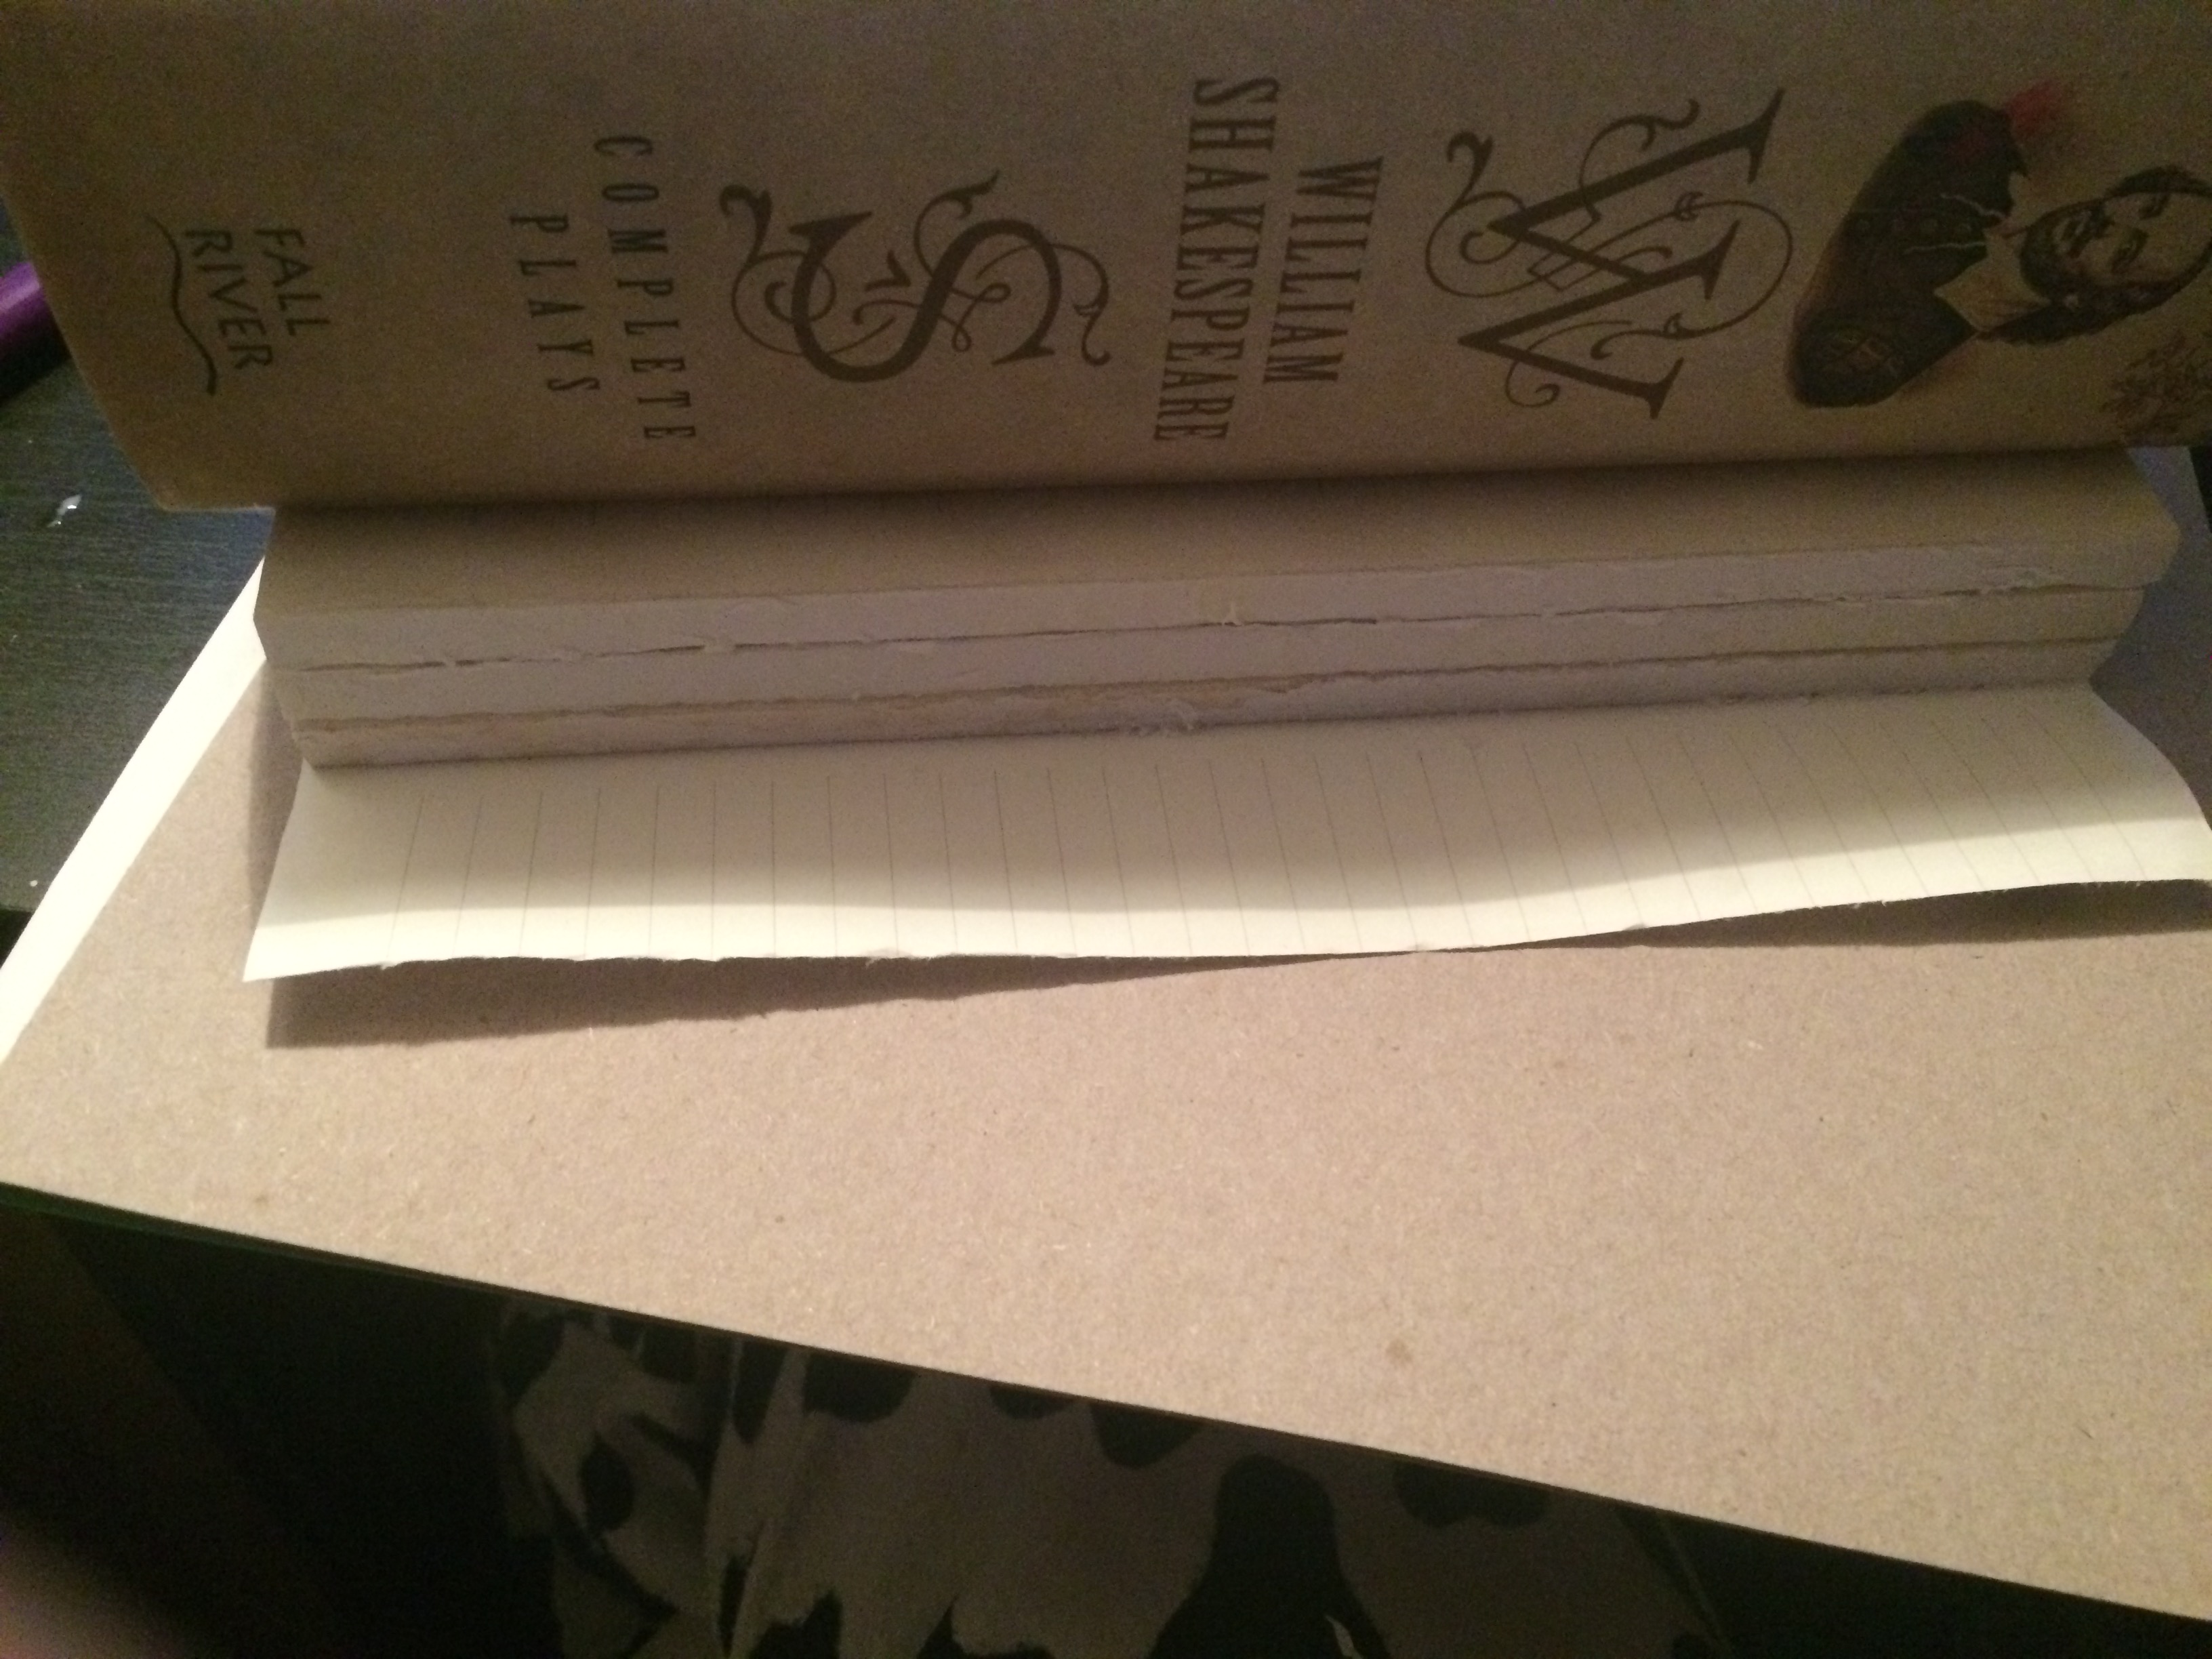
- That meant removing the cover, I felt a bit bad because they are really cute, but I kept them to up-cycle them in something else. I’ve used a paper cutter and that was the result.
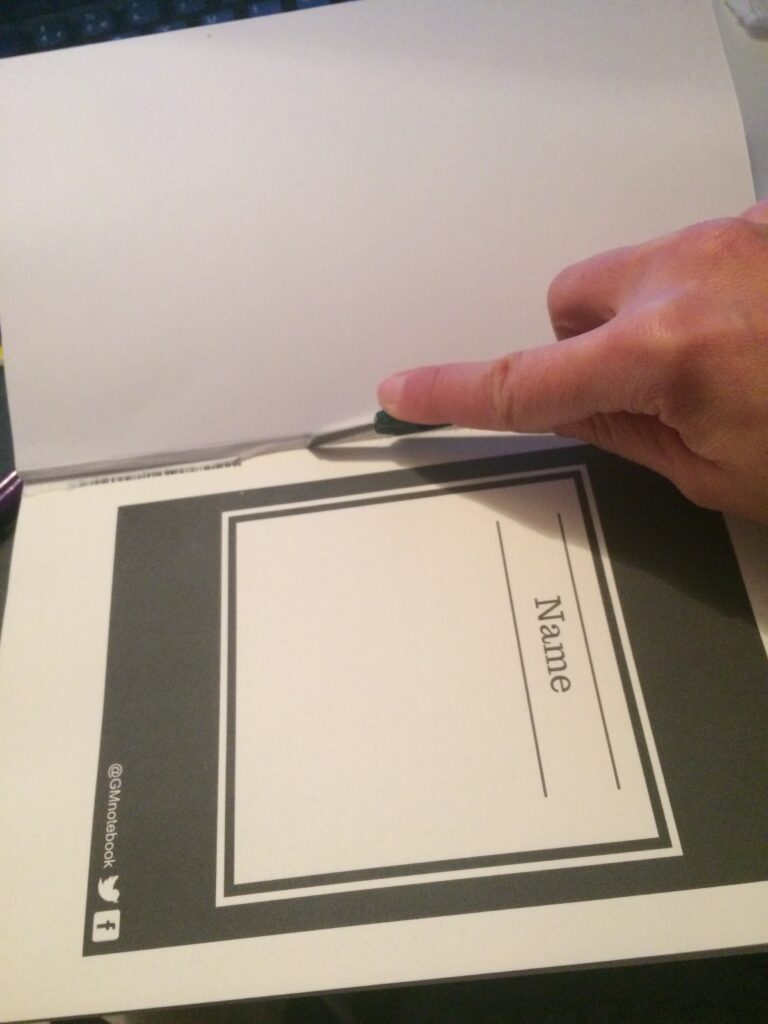
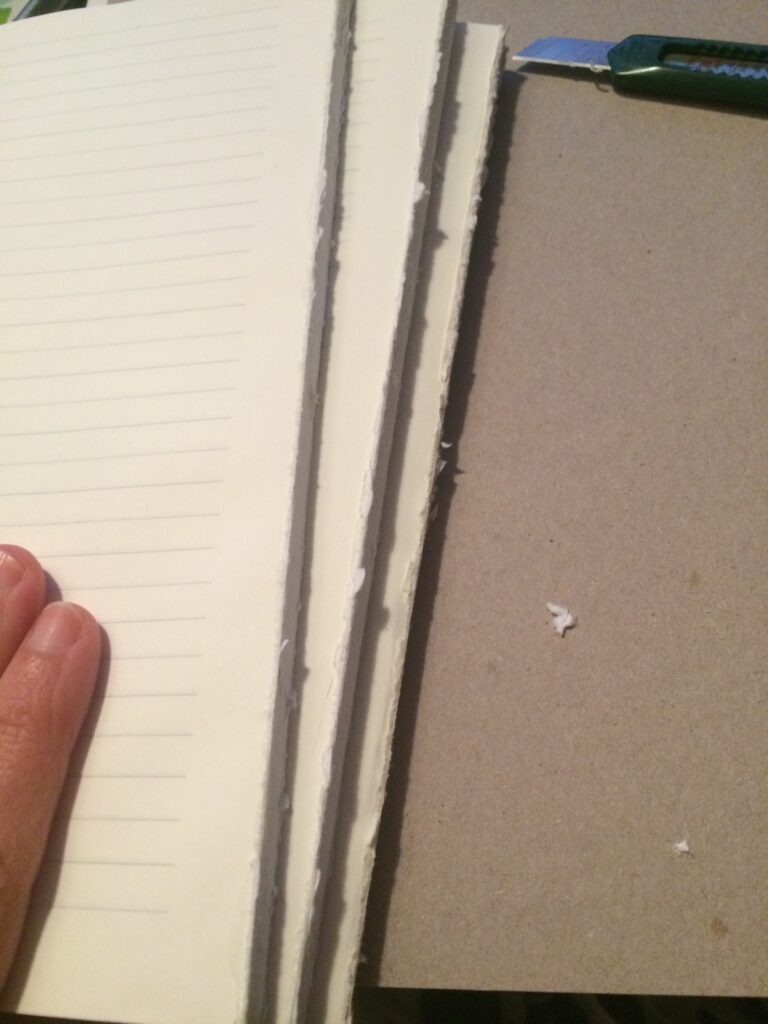
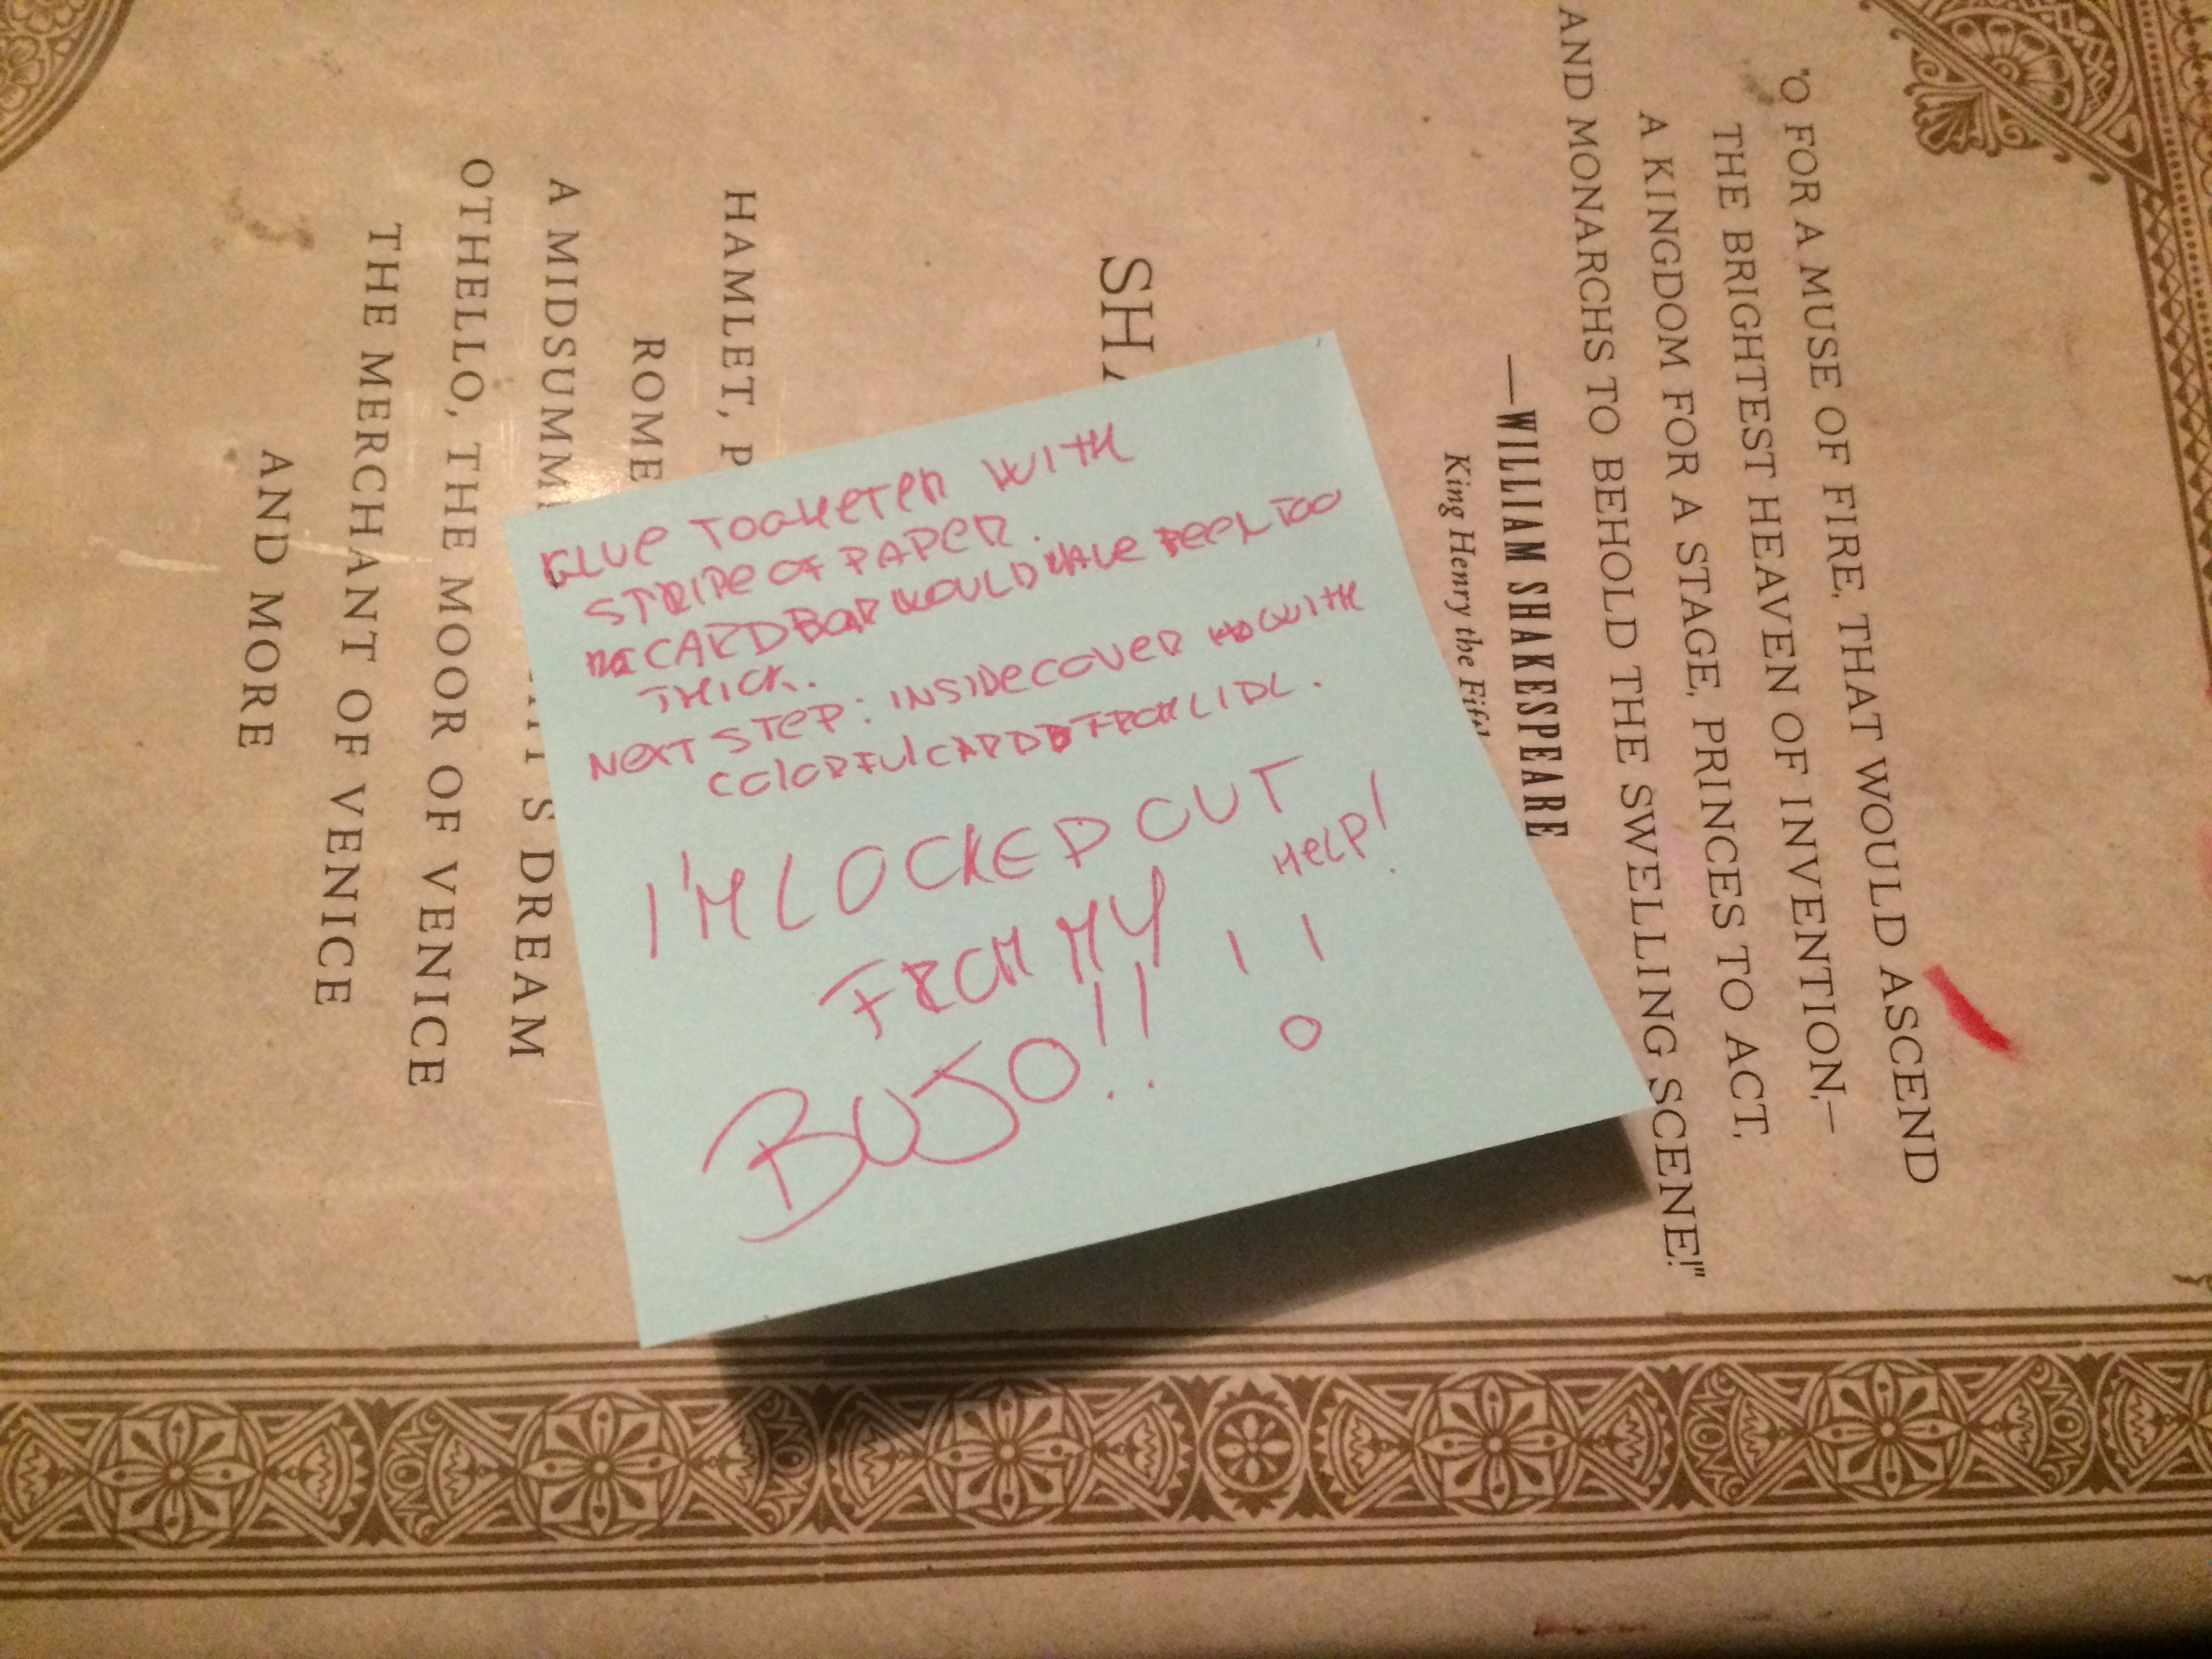
The first picture is me trying to look all crafty-bloggy like.
Second, the inside cover
- With my new triple-notebook all glued and dried, I proceeded to add the inside cover following Damask Love’s Tutorial How to Make a Text Block at 16:32 – Adding Cover Pages to the Text Block.
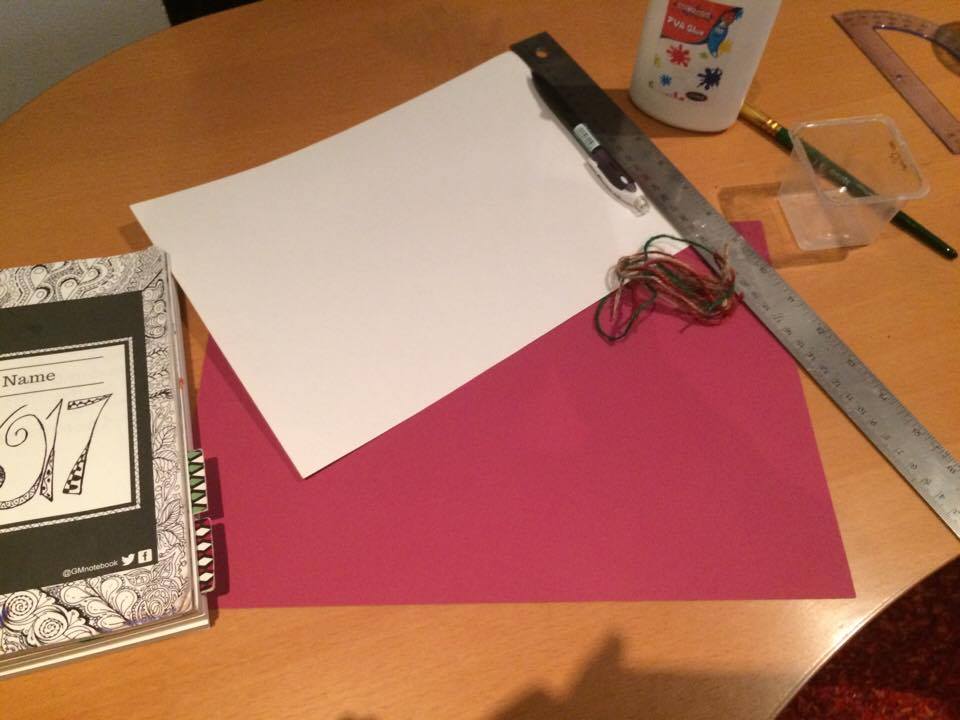
- I gathered my supplies: ruler, scissors, glue, a brush, the cord, a sheet of white paper and a sheet of bordeaux card. I really like this color, it fits with the dark cover really well!
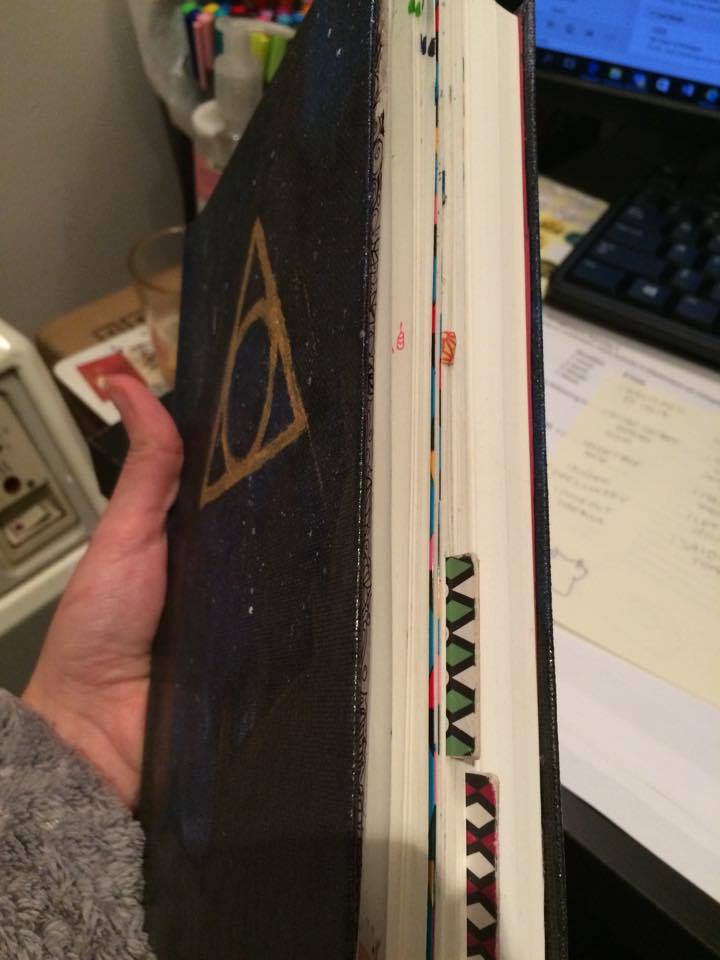
- I followed step by step the tutorial, the pictures below show the headbands in the making and the cover applied.
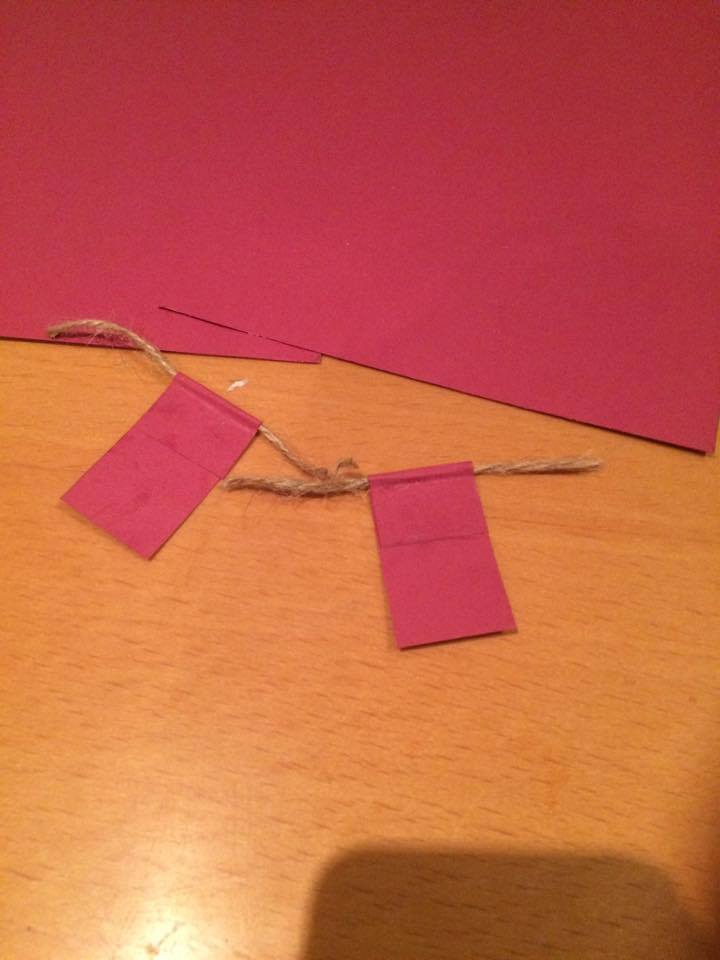
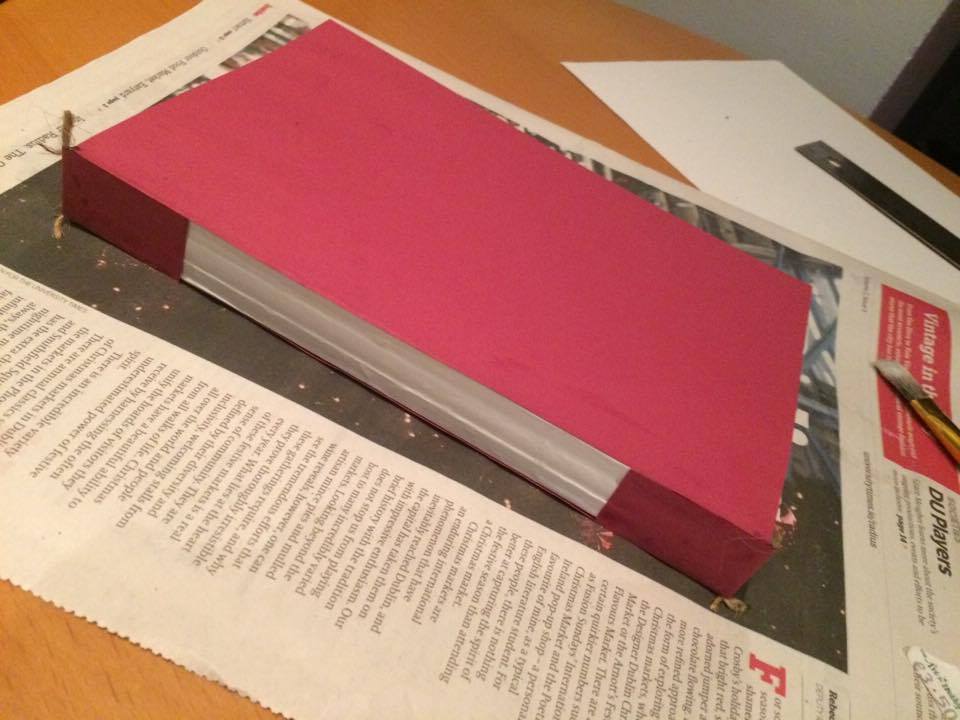
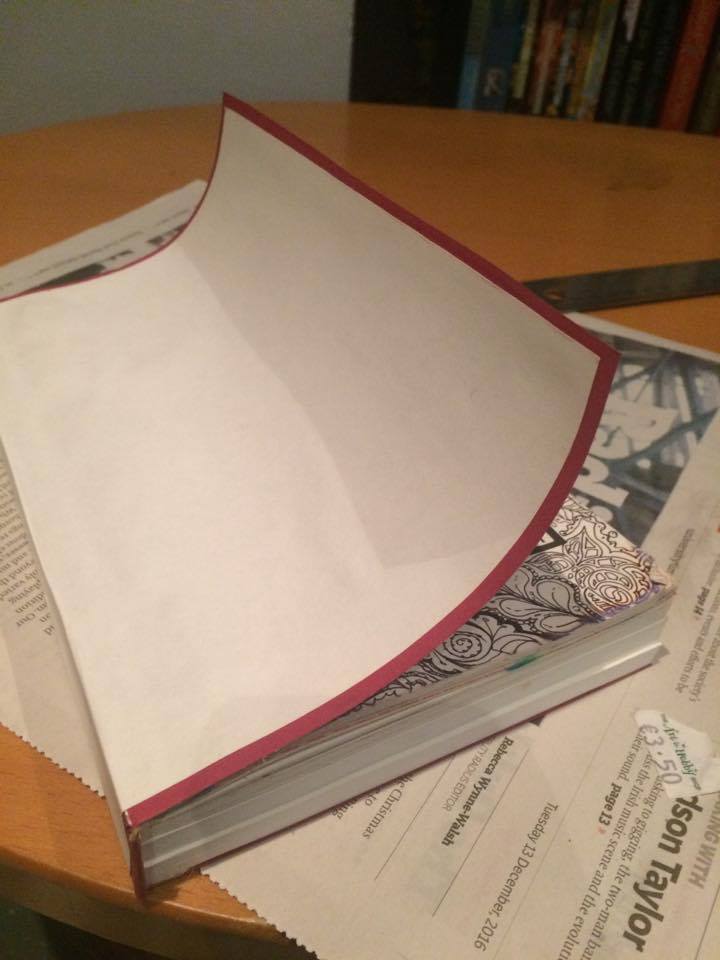
At last, it all came together
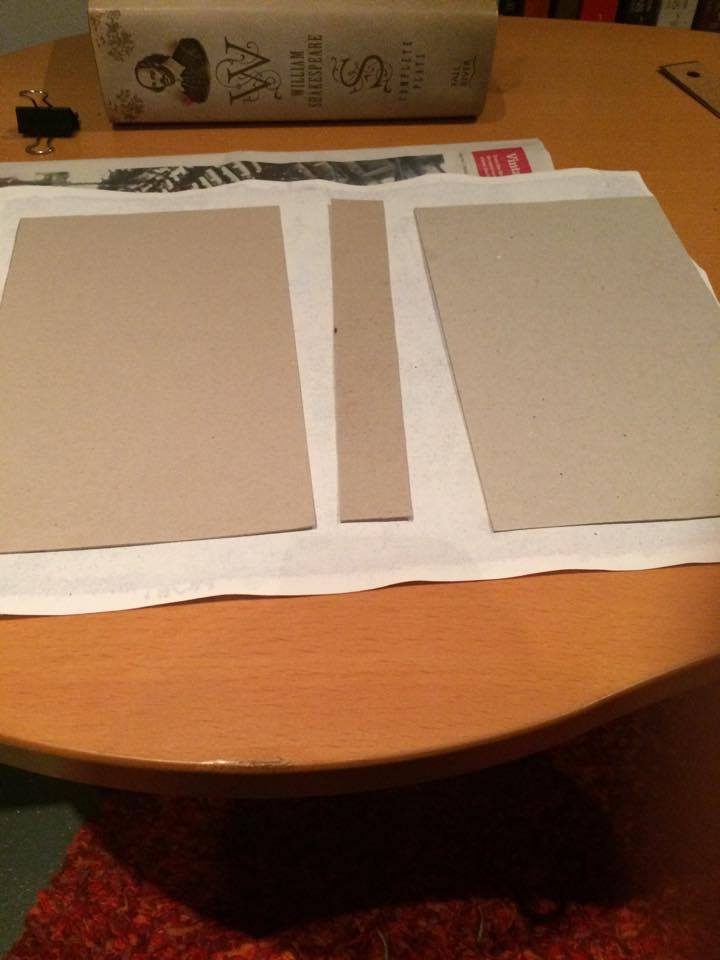
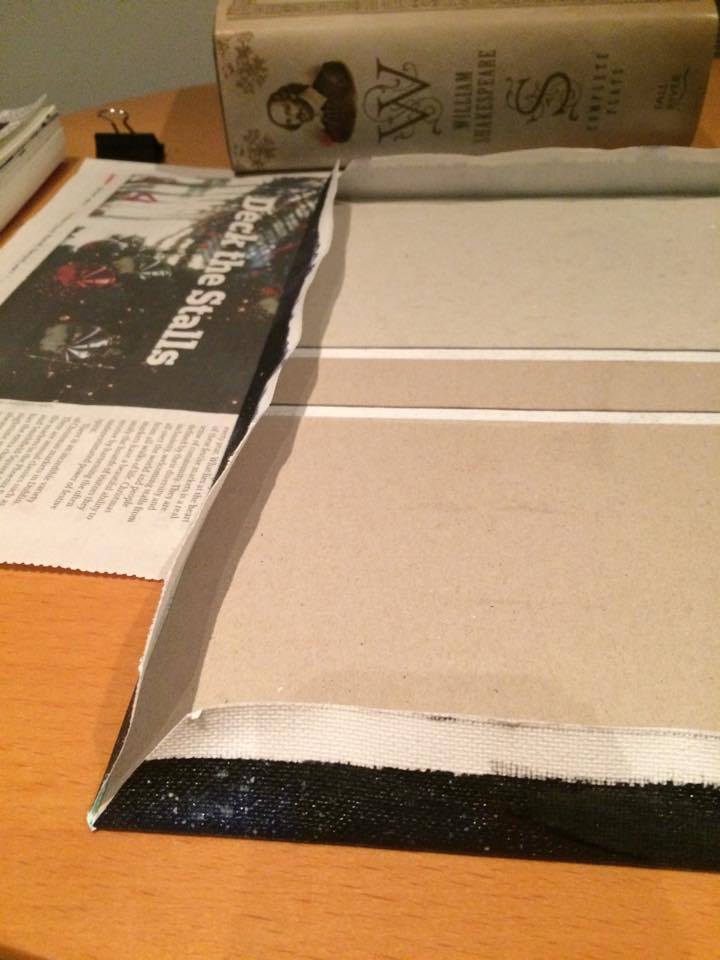
- The tutorial How to Make a Hard Cover was so clear and I followed it devoutly. I didn’t find the cardboard she mentioned in the video: it was either too big, too expensive or too many, so I resorted to use the cardboard at the back of two notebooks. Everything can be re-purposed – said the hoarder.

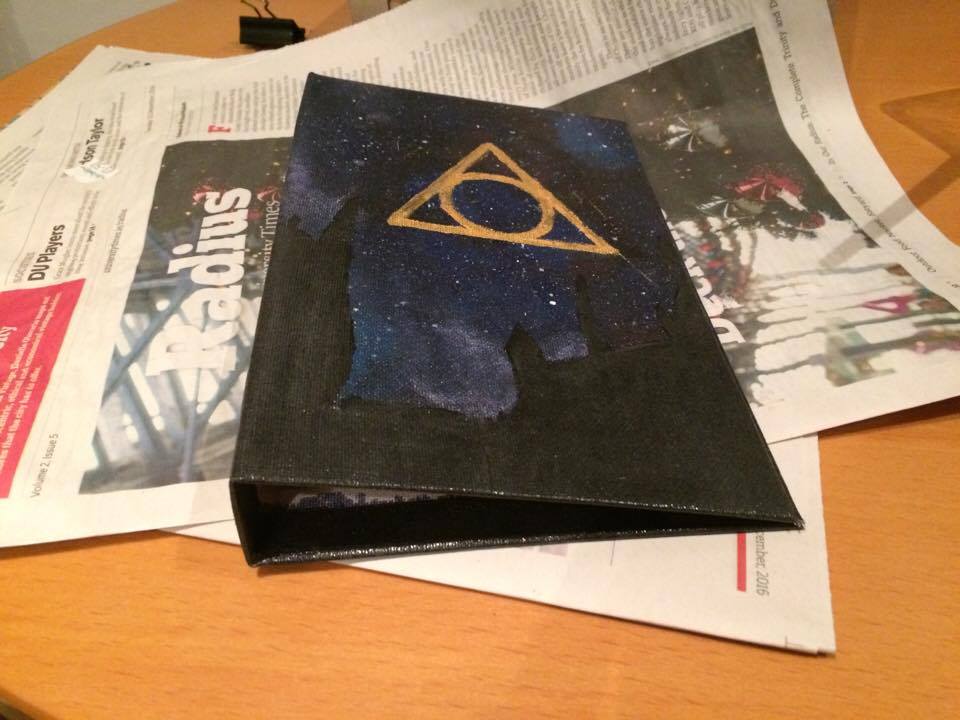
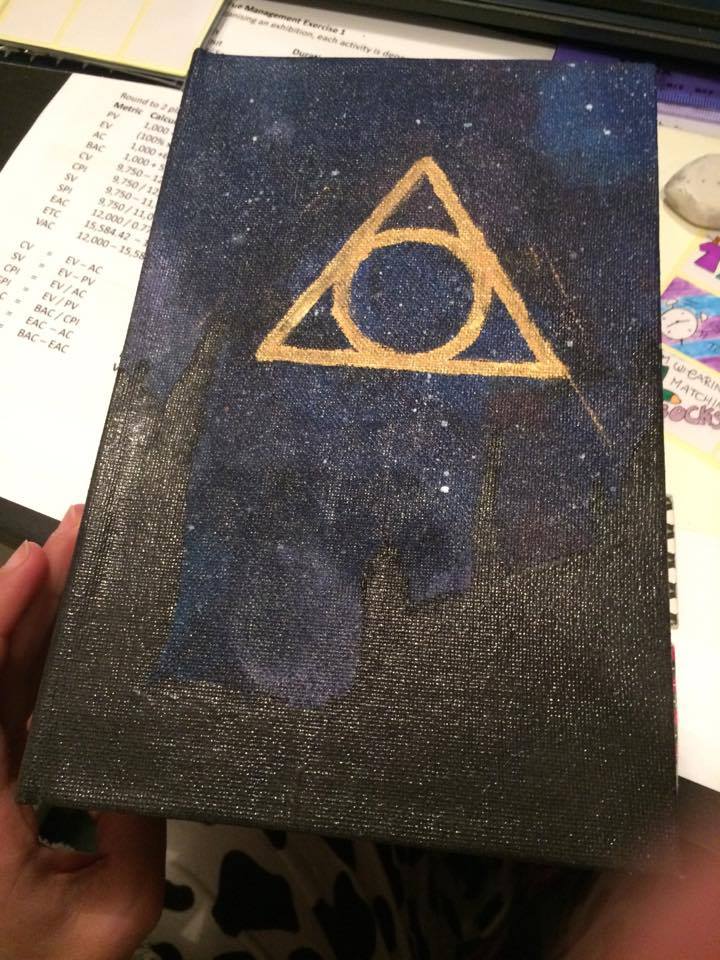

I was really blinded by love because I stared at it for hours and didn’t notice until it was pointed out in a Facebook group. Luckily, it was a quick fix with a bit of gold paint and now I’m the proud owner of a custom-made Harry Potter bullet journal!
Few final thoughts
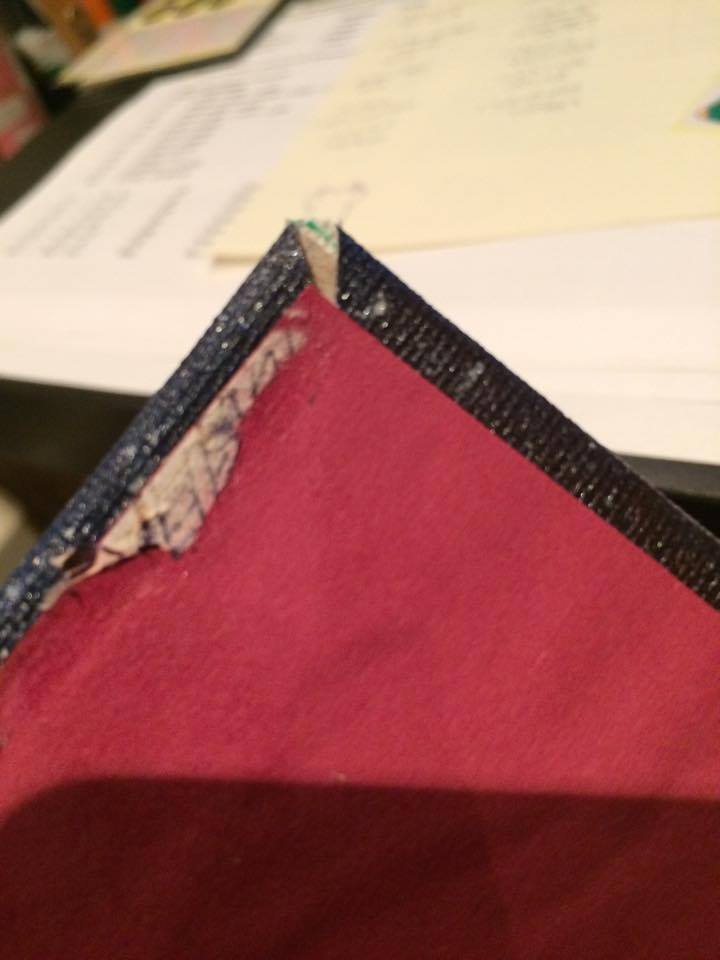
There are a couple of imperfections:
- the bordeaux paper was too thin or too much glue was used, so the inside is a bit wrinkly and some of the first page stuck to it.
- one corner of the canvas is not perfectly folded so the cardboard is visible.
And a couple of extra-features to keep in mind that would be nice to have:
- ribbon page markers, but they should have been added before the headbands.
- ribbons to wrap around to close it, but it would have involved some cutting of the canvas and some more brain work…
Overall, I loved working on this, I must admit I’d been staring at it a lot, and caressing the cover, and… OK, yeah, I’m weird… don’t judge me! But it feels like having a real hard cover book that will tell your own story. I will enjoy at the end of 2017 to go through the pages as I’d be reading a novel.
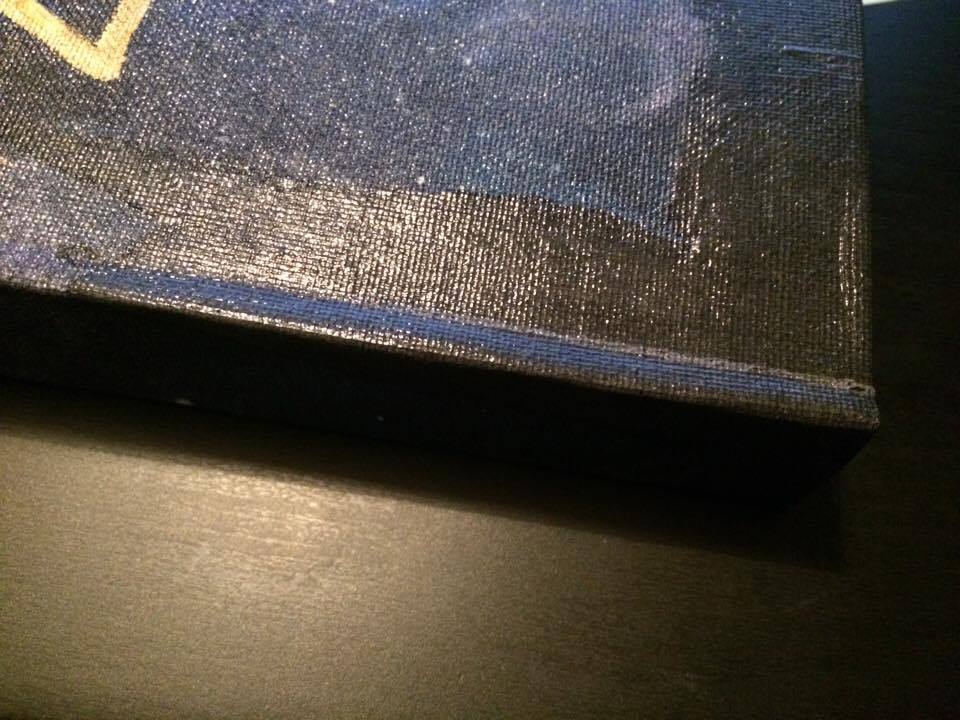
Anyway, time to wrap this up and move on to the next project, which is still undecided: keep an eye on my Instagram to see what I’m messing around with on a daily basis. Before leaving, here two details from the finished book.

Hope you enjoyed the read and that this post may inspire you!